

Once a month we go to Kansas City and take lunch. Sometimes we take sandwiches but that doesn’t work for some of my peeps who don’t like/can’t have sandwiches. Our solution? Brown Bag Chimichangas from the freezer.
My kids barely know what brown bagging it means. We homeschool so most of our lunches are eaten at home! Since we get to KC early in the morning, the chimis can warm up in a small crock pot for a few hours and be ready for lunch! Best of all they can be low carb and super healthy!
Another way to eat these chimis is to heat them in the oven before leaving the house. Then wrap them up or put them in a thermal bag(the kind you put your casseroles in to keep them warm. Hubby is known to stick a couple in a mitt pot holder. He's so smart about out of the box solutions.
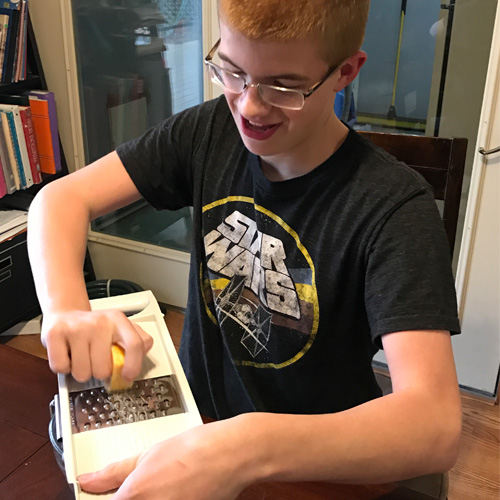
This recipe is great for kids who are learning to cook. My youngest helped me make a batch of these. It was a great fun and went really fast. He knew all the steps(browning hamburger, grating cheese etc) but had never put them together. Now he has a bunch of Chimichangas in the freezer for future lunches at home or on the road.
Low Carb Freezer Chimichagas
Ingredients
3 lbs hamburger
1-2 T taco seasoning(I like this homemade version)
1 15 oz can of refried beans(I use fat free)
1-1.5 jar salsa
1 8 oz block of cheddar or colby jack cheese
20ish tortillas(low carb if you are on the THM eating plan)

Batch assembly of Chimichangas
- Brown hamburger.
- Shred cheese if necessary.
- Drain fat after the burger is cooked and return to the skillet.
- Add taco seasoning, beans and salsa. Heat until the beans mix in. Remove from heat.
- Heat your tortillas so they are more pliable to make the Chimichangas. You can use a skillet or the microwave.
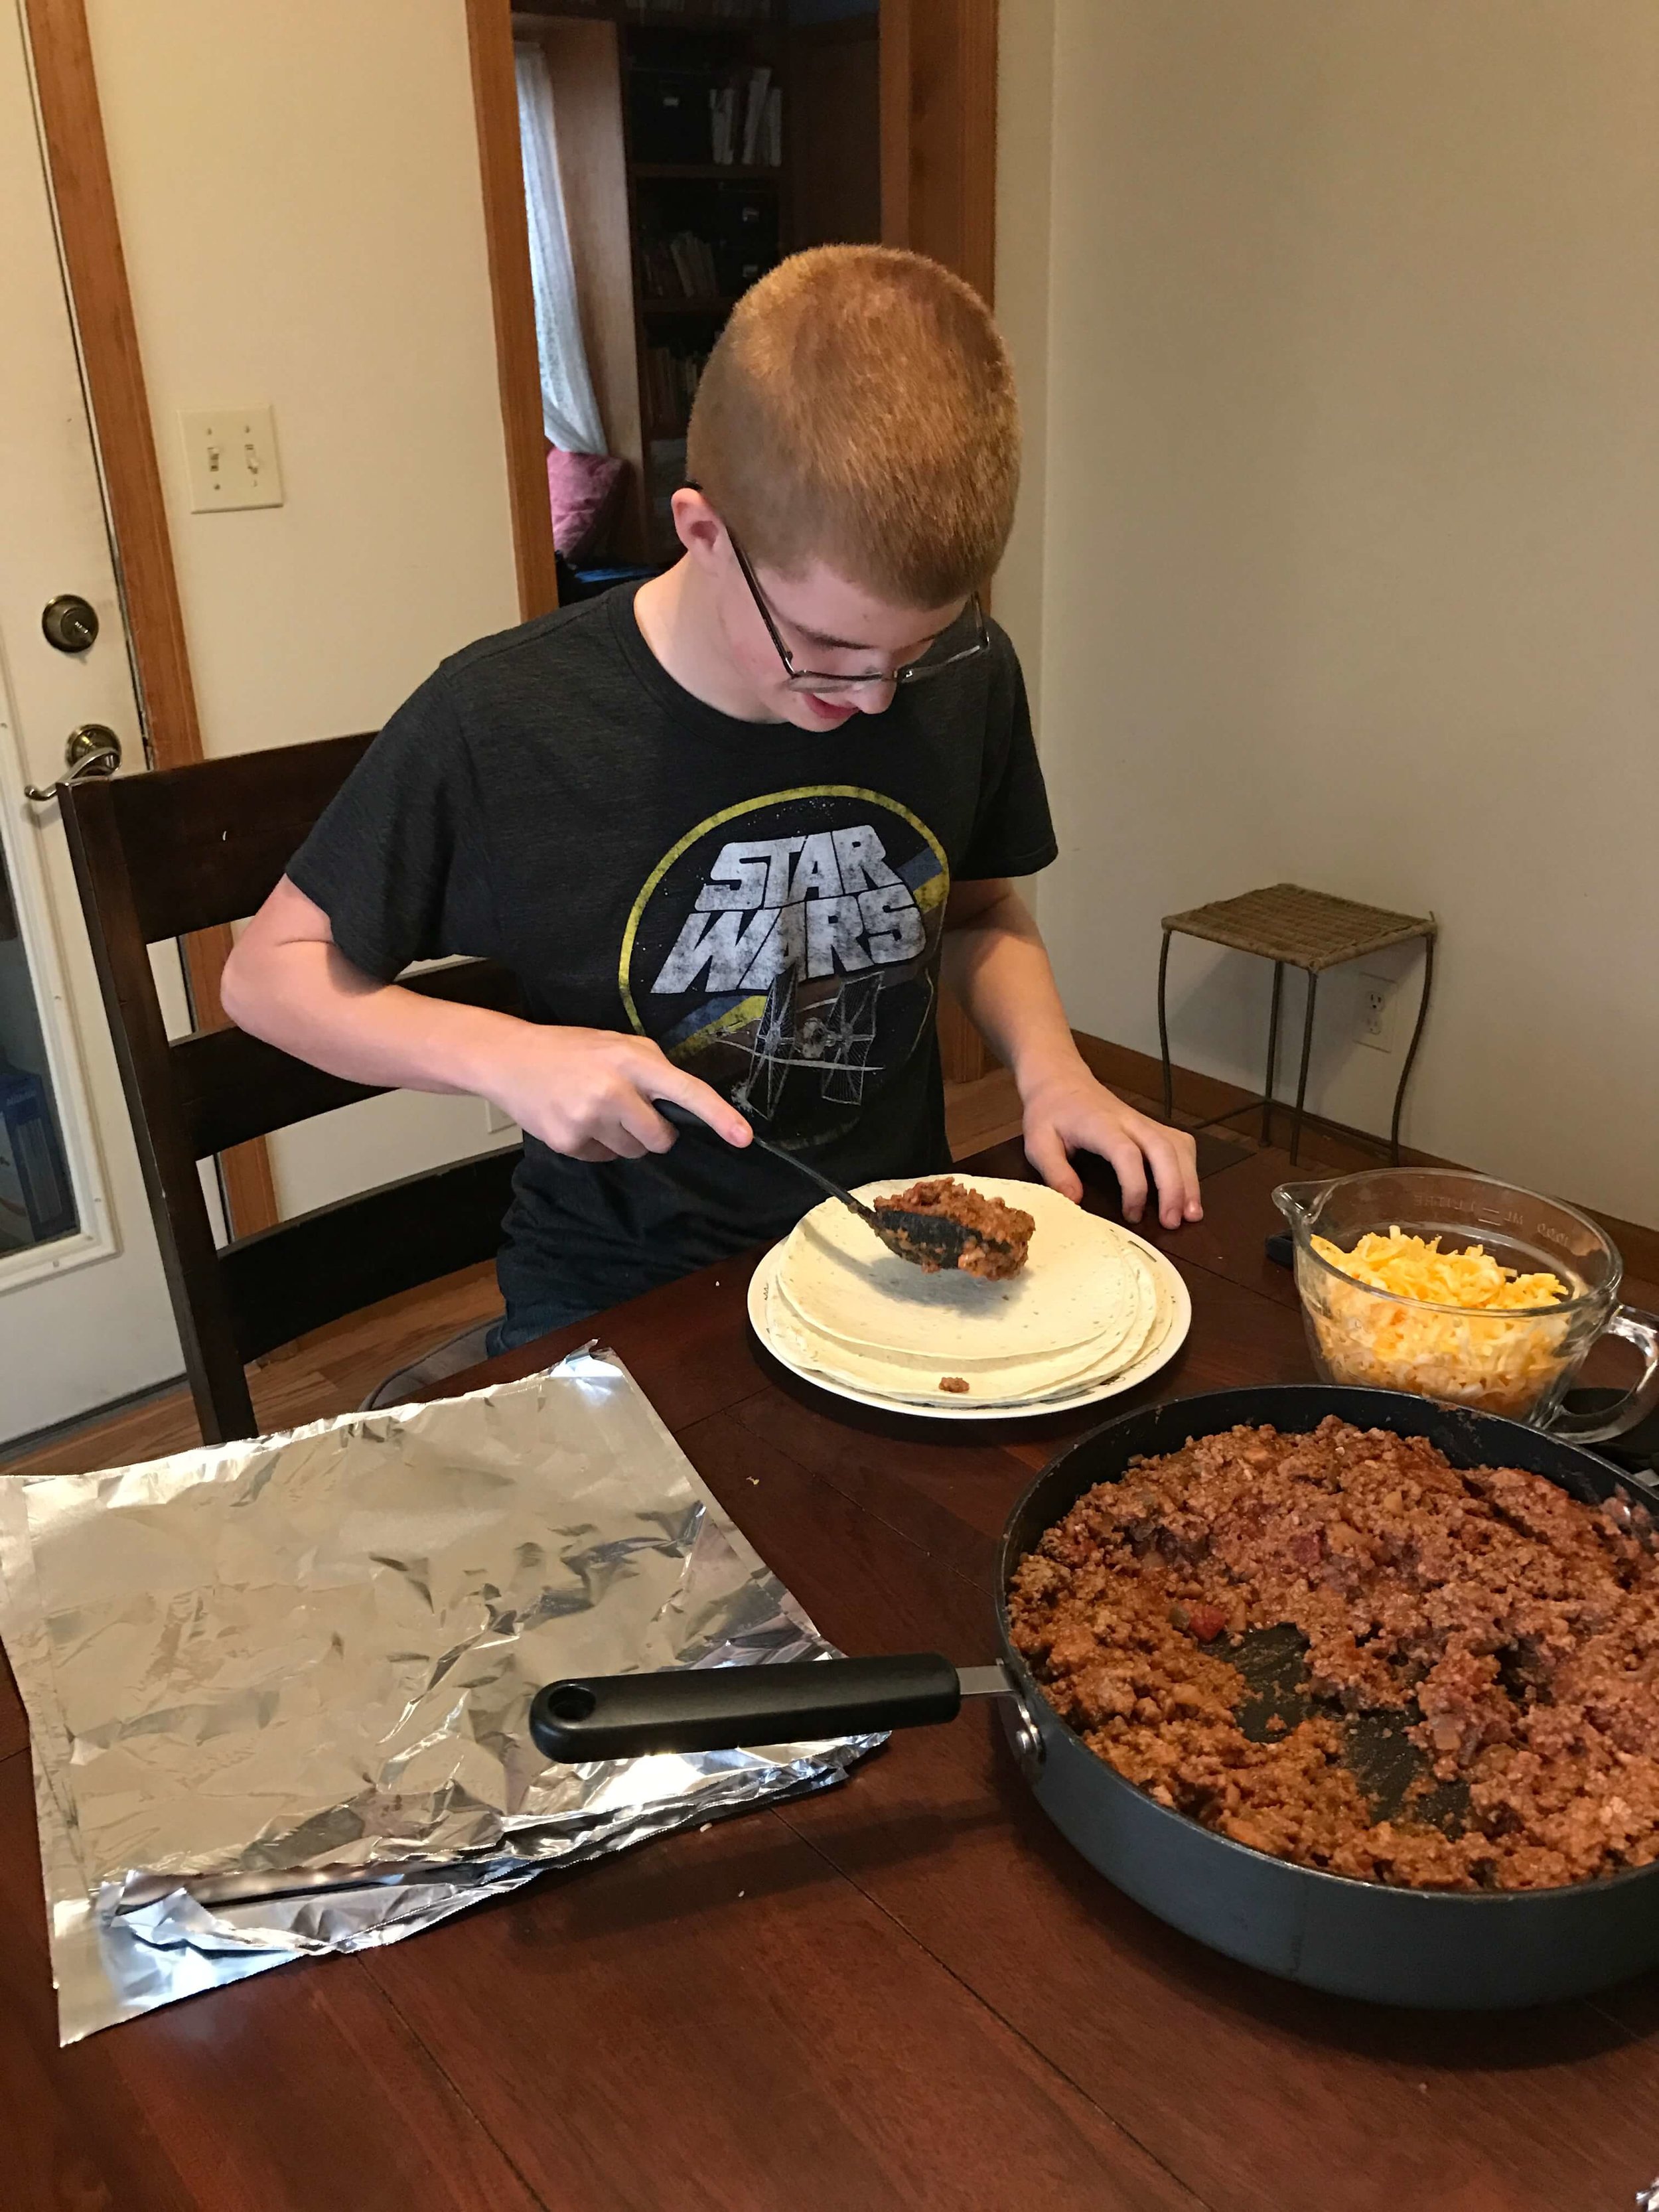
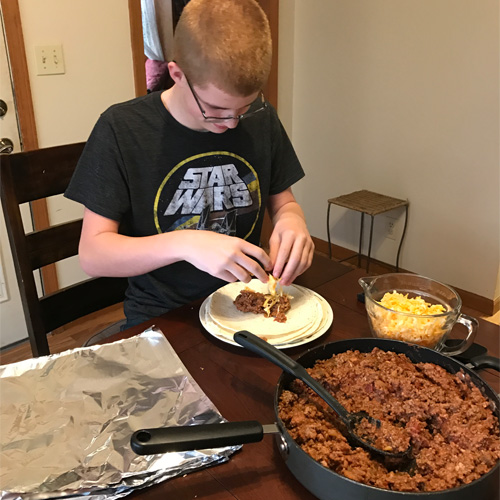
- On each tortilla put a large spoonful of the meat mixture. Sprinkle with cheese.
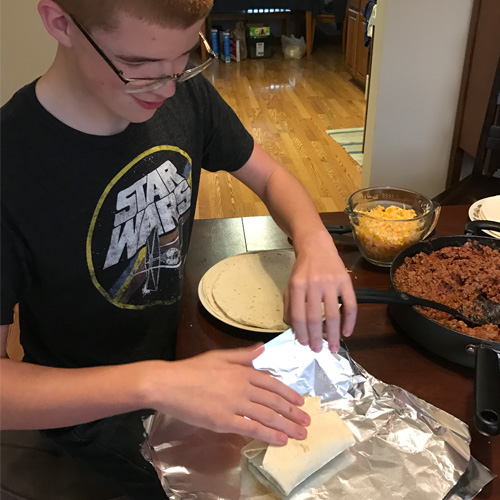
- Fold the tortilla around the mixture.
- Wrap in aluminum foil. This keeps the tortillas from being unwrapped or freezing together with the other Chimichangas.
- Do this until the meat mixture is used up.
- Freeze the wrapped Chimichangas. After freezing I like to put them all in gallon size ziplocks. Then we can grab however many we need to defrost and cook.
Cooking directions
- Remove desired number of Chimis from the freezer.
- You can cook these wrapped in the foil and they will be a softer more burrito type meal. If you prefer a crispy Chimichanga then remove the foil.
- If frozen, bake at 350 degrees for 25 minutes. If defrosted, bake at 350 for 10 minutes.
We plan to make these once a month for my son and his dad to take for lunches. They are so easy to make! Do you like having freezer meals ready to go? Check out these 15 NO stress chicken freezer meals for your next stock up session!
To make this cooking lesson extra fun my son and I had a fun contest. We raced to see who could make a Chimichanga fastest! Want to see the video? Go check it out on the Day to Day Adventures facebook page!
Related posts


