It is a dangerous thing to start thinking about Christmas decor in November but I’m living on the wild side this week! I keep seeing these beautiful Angels in all the crafting groups (like the Craft Cult) that I’m in and I just had to try my hand at making one. These Deco Mesh Angels would make great tree toppers or could go on any Christmas wreath. The instructions for making the angel are sooo easy and the supplies are not expensive at all! This is my favorite kind of craft!
Supplies
Deco Mesh — I got mine at Michael’s when it was 1/2 off yay!
Optional:
How to Make a Deco Mesh Angel
Body
1. Start by cutting out 12 squares of Deco Mesh. The larger your squares the larger your angel will be. I cut mine to be 10 x 12 inches from a longer roll. You can get the 10 inch wide rolls and not have to do as much “cutting” as I did.

TIP: If you have a soldering iron you can keep the mesh from unraveling by touching the iron to the mesh. Check out my video on how to do it.
2. Stretch the mesh corner to corner and then pick it up in the middle and hold it in your hand. Repeat 12 times.

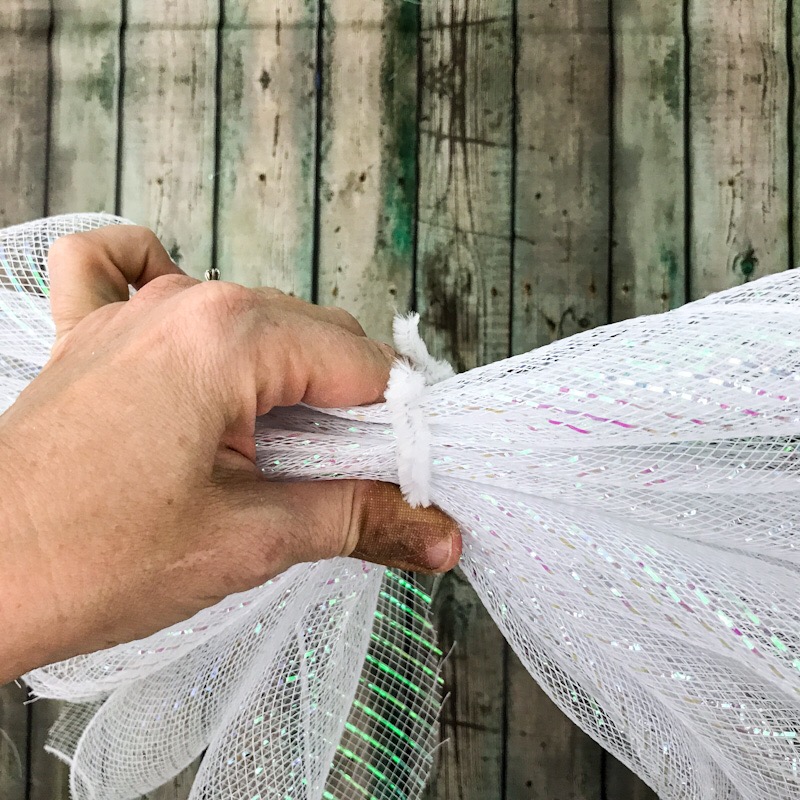
4. Cut a pipe cleaner in 1/2 and then take one piece and wrap it around the middle of your mesh squares to hold them in place. Twist the pipe cleaner and leave it sticking up from the mesh. You will attach your head to this part.
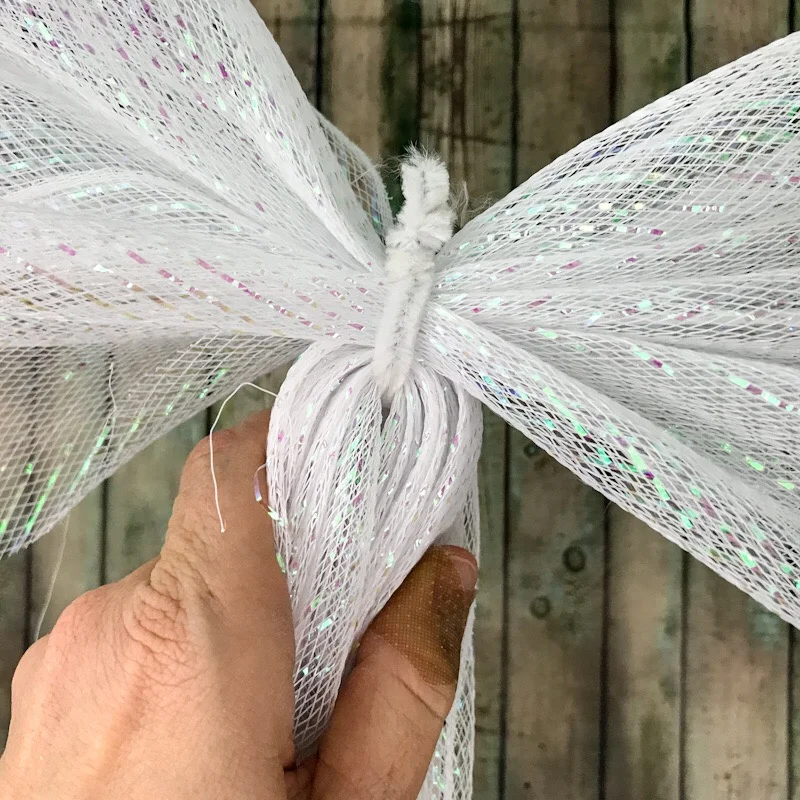
5. Opposite the sticking up pipe cleaner, move 6 (3 on each side) of the squares towards the bottom and then wrap another pipe cleaner around those squares and end with the pipe cleaner towards the back. Set your angel to the side for now.

Head
6. Remove the ornament hanger from your ornament. Put some glue inside the top of the ornament and then put it on top of the pipe cleaner. Hold it in place until the glue is stuck to the pipe cleaner and the head is secure. You may need to put more glue around the “neck” of your angel on the outside to secure the head.
Decorative front
7. Make a decorative cover with the ribbons by cutting 3 square pieces of ribbon and then cutting a v in one side of each one.
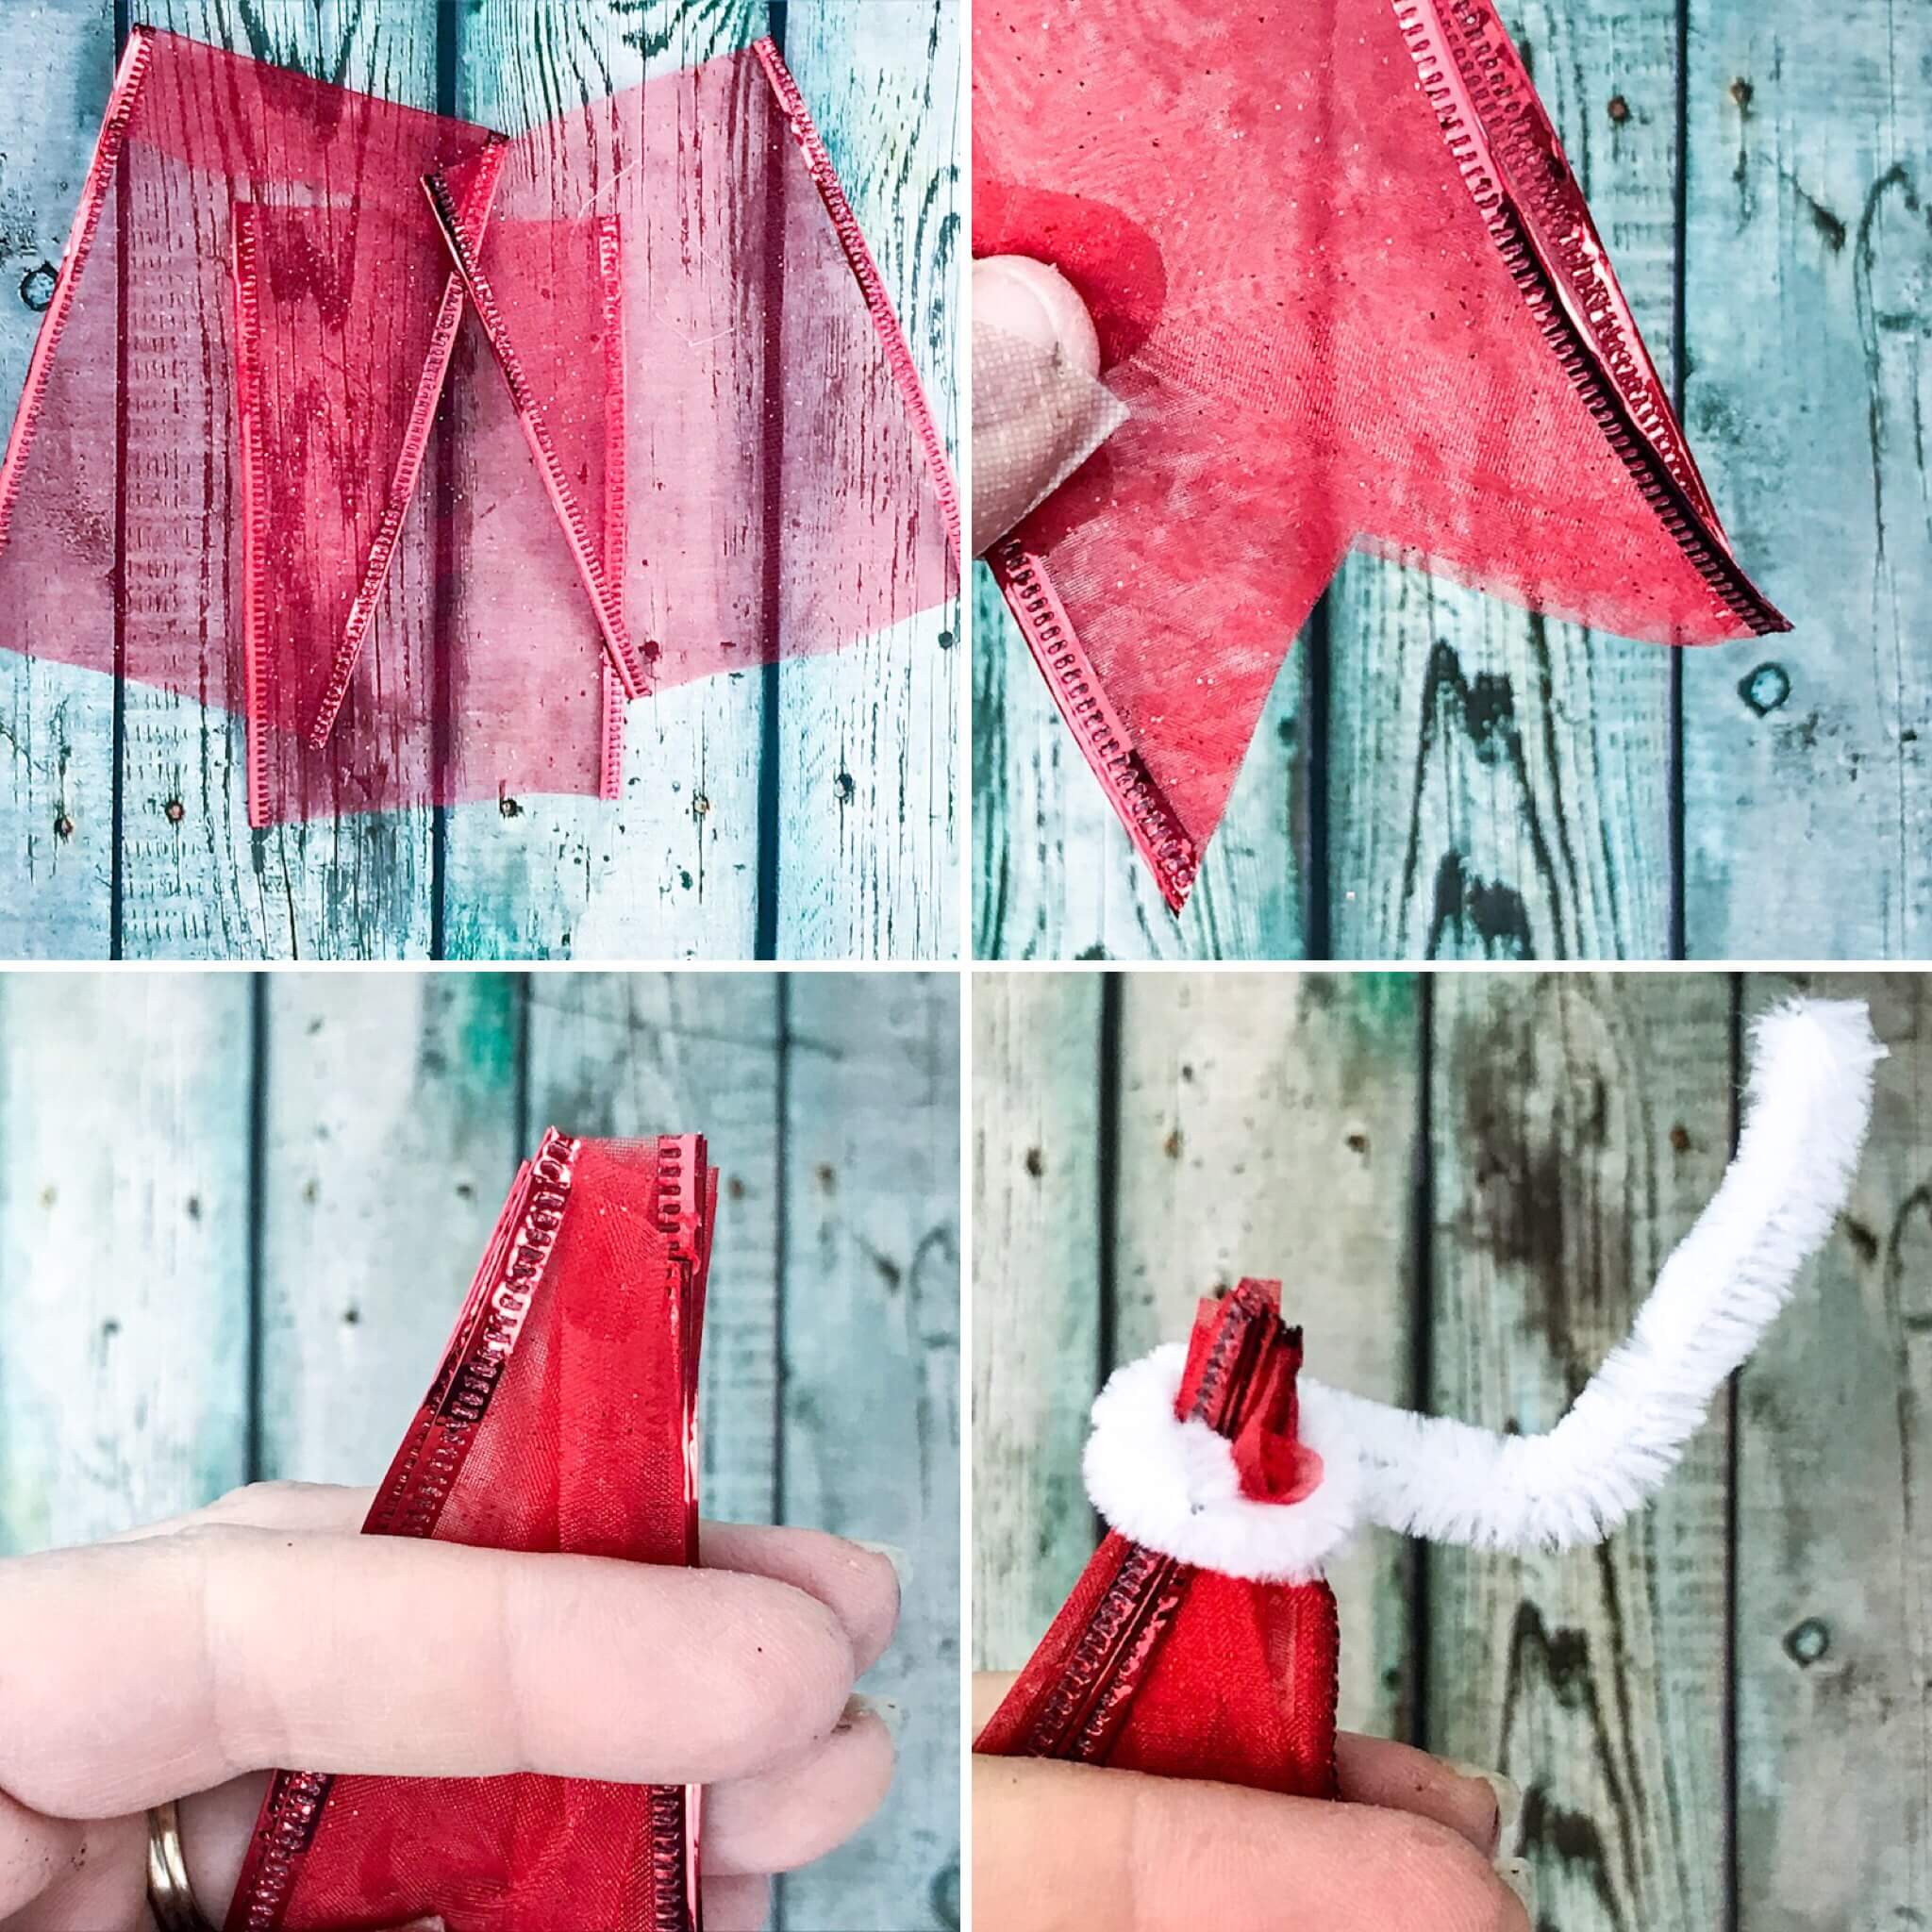
8. Gather the ribbon on the opposite side from the V and either glue it gathered up or wrap a pipe cleaner around the top and secure it with glue.
9. Paint your wooden heart and put on the heart (or not it’s your choice!). You could cut vinyl or use a sharpie depending on the font that you would like the words to be in. I used my Silhouette Cameo because I’m a font addict and have TONS on my computer. And I don’t like my handwriting.


10. Glue the gathered ribbon to the back of the wooden heart(or use the pipe cleaner to attach it to the angel and then glue the heart to the front of the angel. The heart and ribbon should hide the pipe cleaners used to gather the angels skirt and wings.

Love Deco Mesh and need another project??
Go check out my friend, Pam’s Deco Mesh heart wreath. It’s adorable!


What to read next