Front door decor is a BIG part of decorating your house! Our house has a huge front porch so I do more than just a wreath or flowers by the door. No matter what the size or shape of the entry to your home you can make these wooden door tags that are perfect for any season!
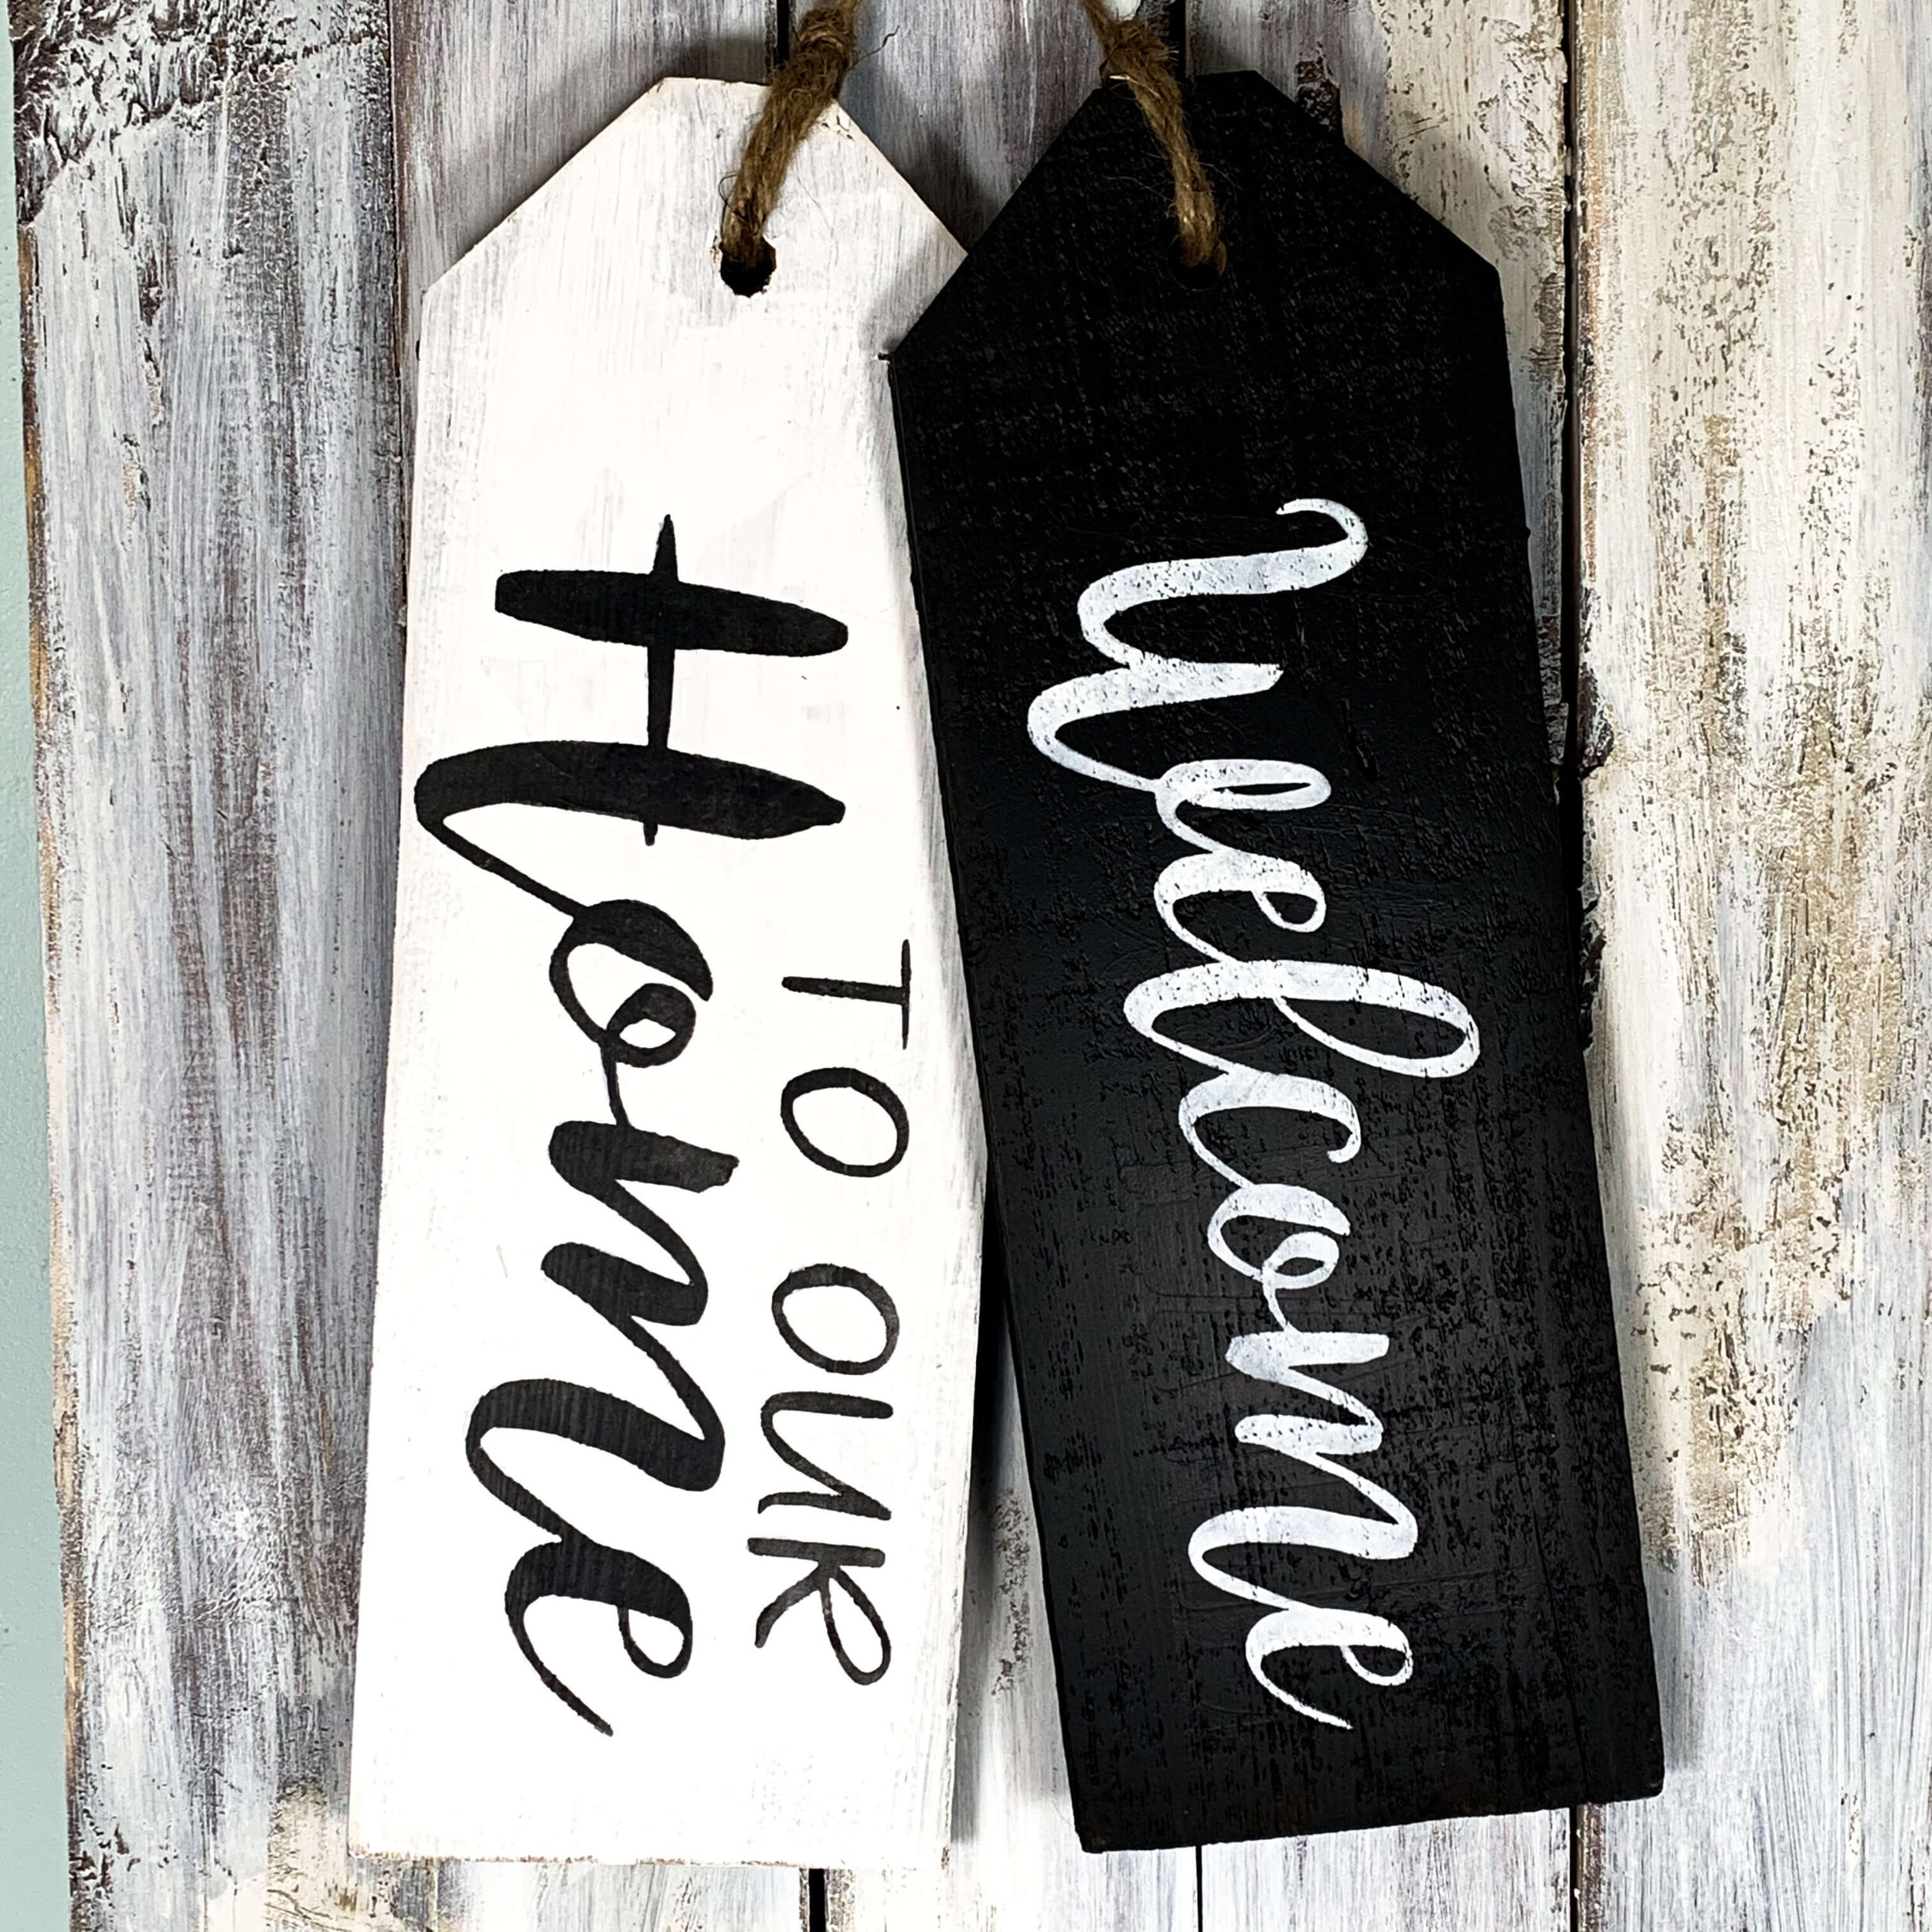
If you love the rustic look then consider not using new wood! I love to find less expensive sources of wood and it helps create the rustic look without a bunch of effort! Barn wood is great but even an old fence that is no longer useful can be use to make these rustic wooden door tags!
Supplies Needed for Wooden Door Tags
1x6—at least 3 ft OR fence pickets
A way to cut the boards—Home Depot will cut them for you for very little if you don’t have a saw
Sandpaper
Drill or drill press
Miter saw
Large drill bit
Spray paint or chalk paint--I like to use matte or satin finish
Newspaper or cardboard to protect your surface
Mod podge
Spouncer or sponge makeup wedge
Silhouette or Cricut cutting machine
Ribbon, twine, rafia, silk flowers or any seasonal items to decorate the top of the tags
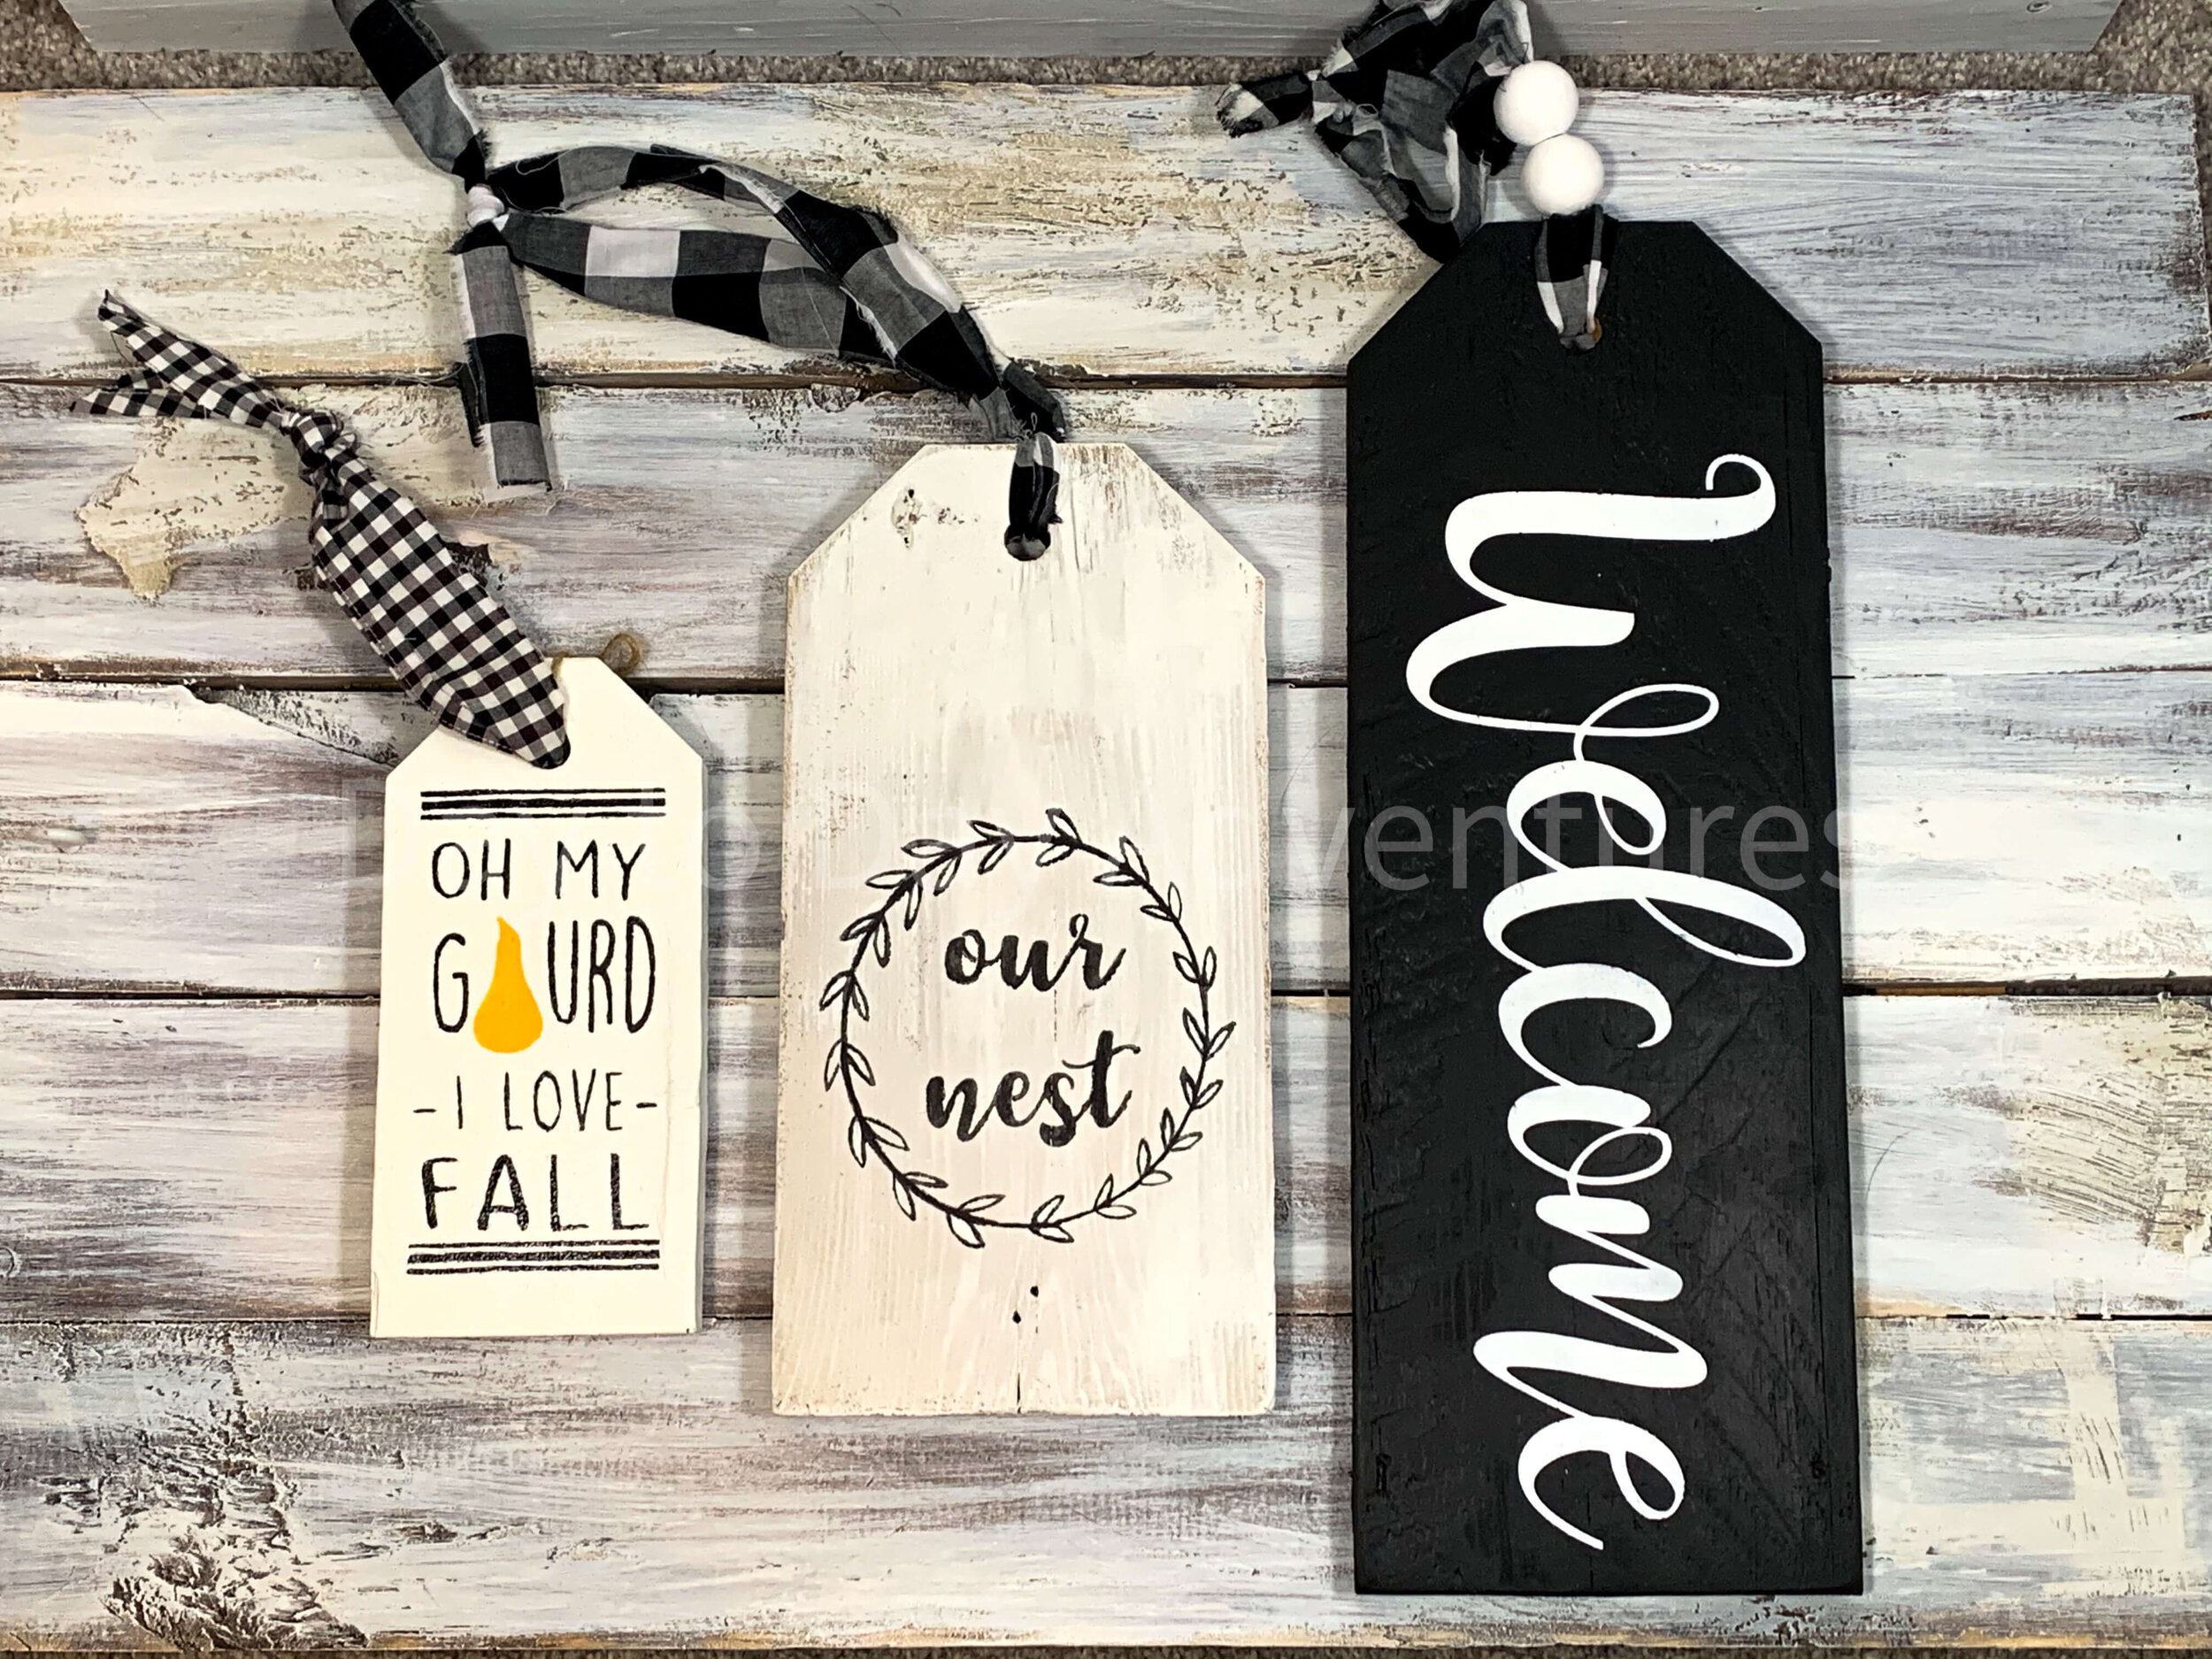
HOW long should your tags be? That’s really up to you. Here are the sizes I’ve made.
Mini tags - 7.25 x 3.5 inches
Fat chunkier tags - 7.25 x 6 inches
Long door tags - 5 x 15 inches
I really LOVE the longer ones. It’s best if your thickness is 1 inch or less because they can get too heavy if you do!
Instructions for DIY Wooden Door Tags
1. Decide on the design so you know how big to make your tags. Check out my Pinterest board for Door Tags if you need inspiration!
2. Cut the length, corners and then sand your wood if you want it smooth.


3. Paint your tags.

4. Drill the hole in the end.
5. Cut your letters from stencil material or vinyl using a Cricut or Silhouette cutting machine if you don’t want to hand paint the design on your tags.
6. Use transfer tape to lift and apply the stencil material or vinyl to your board. Remove the transfer tape. (see the video below)
7. Paint over your stencil material with a layer of the background paint. This seals the stencil on and prevents bleeds under it. Then paint the design on using a makeup sponge.
8. Remove the stencil.
9. Add twine, fabric, silk flowers or other decorative items to your tags!
10. Hang it up!

What to read next