Making crafts for decor and gifts can be one of the best things about the Christmas season! Last year I made Personalized Jenga ornaments and I had a few wood blocks left over! This year I am using the wood pieces from the game in a new way to make a handmade Christmas gnome ornament!
The hardest part is cutting out the hat so I have created a free pattern for you to use to cut out the hats for the gnomes.
***If you want one (or more) Gnome Ornament but don’t want to make them, just hop over to Blue Daisy Dreamer, my handmade decor website, to purchase yours for $7.50**

Materials List for making a DIY gnome ornament
- Jenga pieces (I found mine at the Dollar Tree) or 2x2 wood scrap
Fabric
jingle bells
Jute cord or other cord
Instructions to make Christmas gnome ornament
1. Glue Jenga pieces together or cut a 2 x 2 inch block of wood.
2. Paint the back and sides of the ornament. This is optional but makes your ornaments look more finished.
3. Cut strands off the mop. Cut each strand about 3-4 inches long then and separate strands


4. Glue the first layer of strands on the wood about halfway from the bottom. For the second layer glue a layer right above the first.

5. Separate the strands that so there is a small gap in the middle of the “beard”. Add a small drop of glue and press a wooden bead on for the nose. You can use small beads or large! It just depends on how you like your gnome to look!

6. Cut out your fabric for the hat using the gnome hat template
7. Fold your fabric (right of the fabric to the inside) in half to form a point. Sew hats from the wide end towards point but leave 2 inches open. Tuck the end into inside and turn right side out


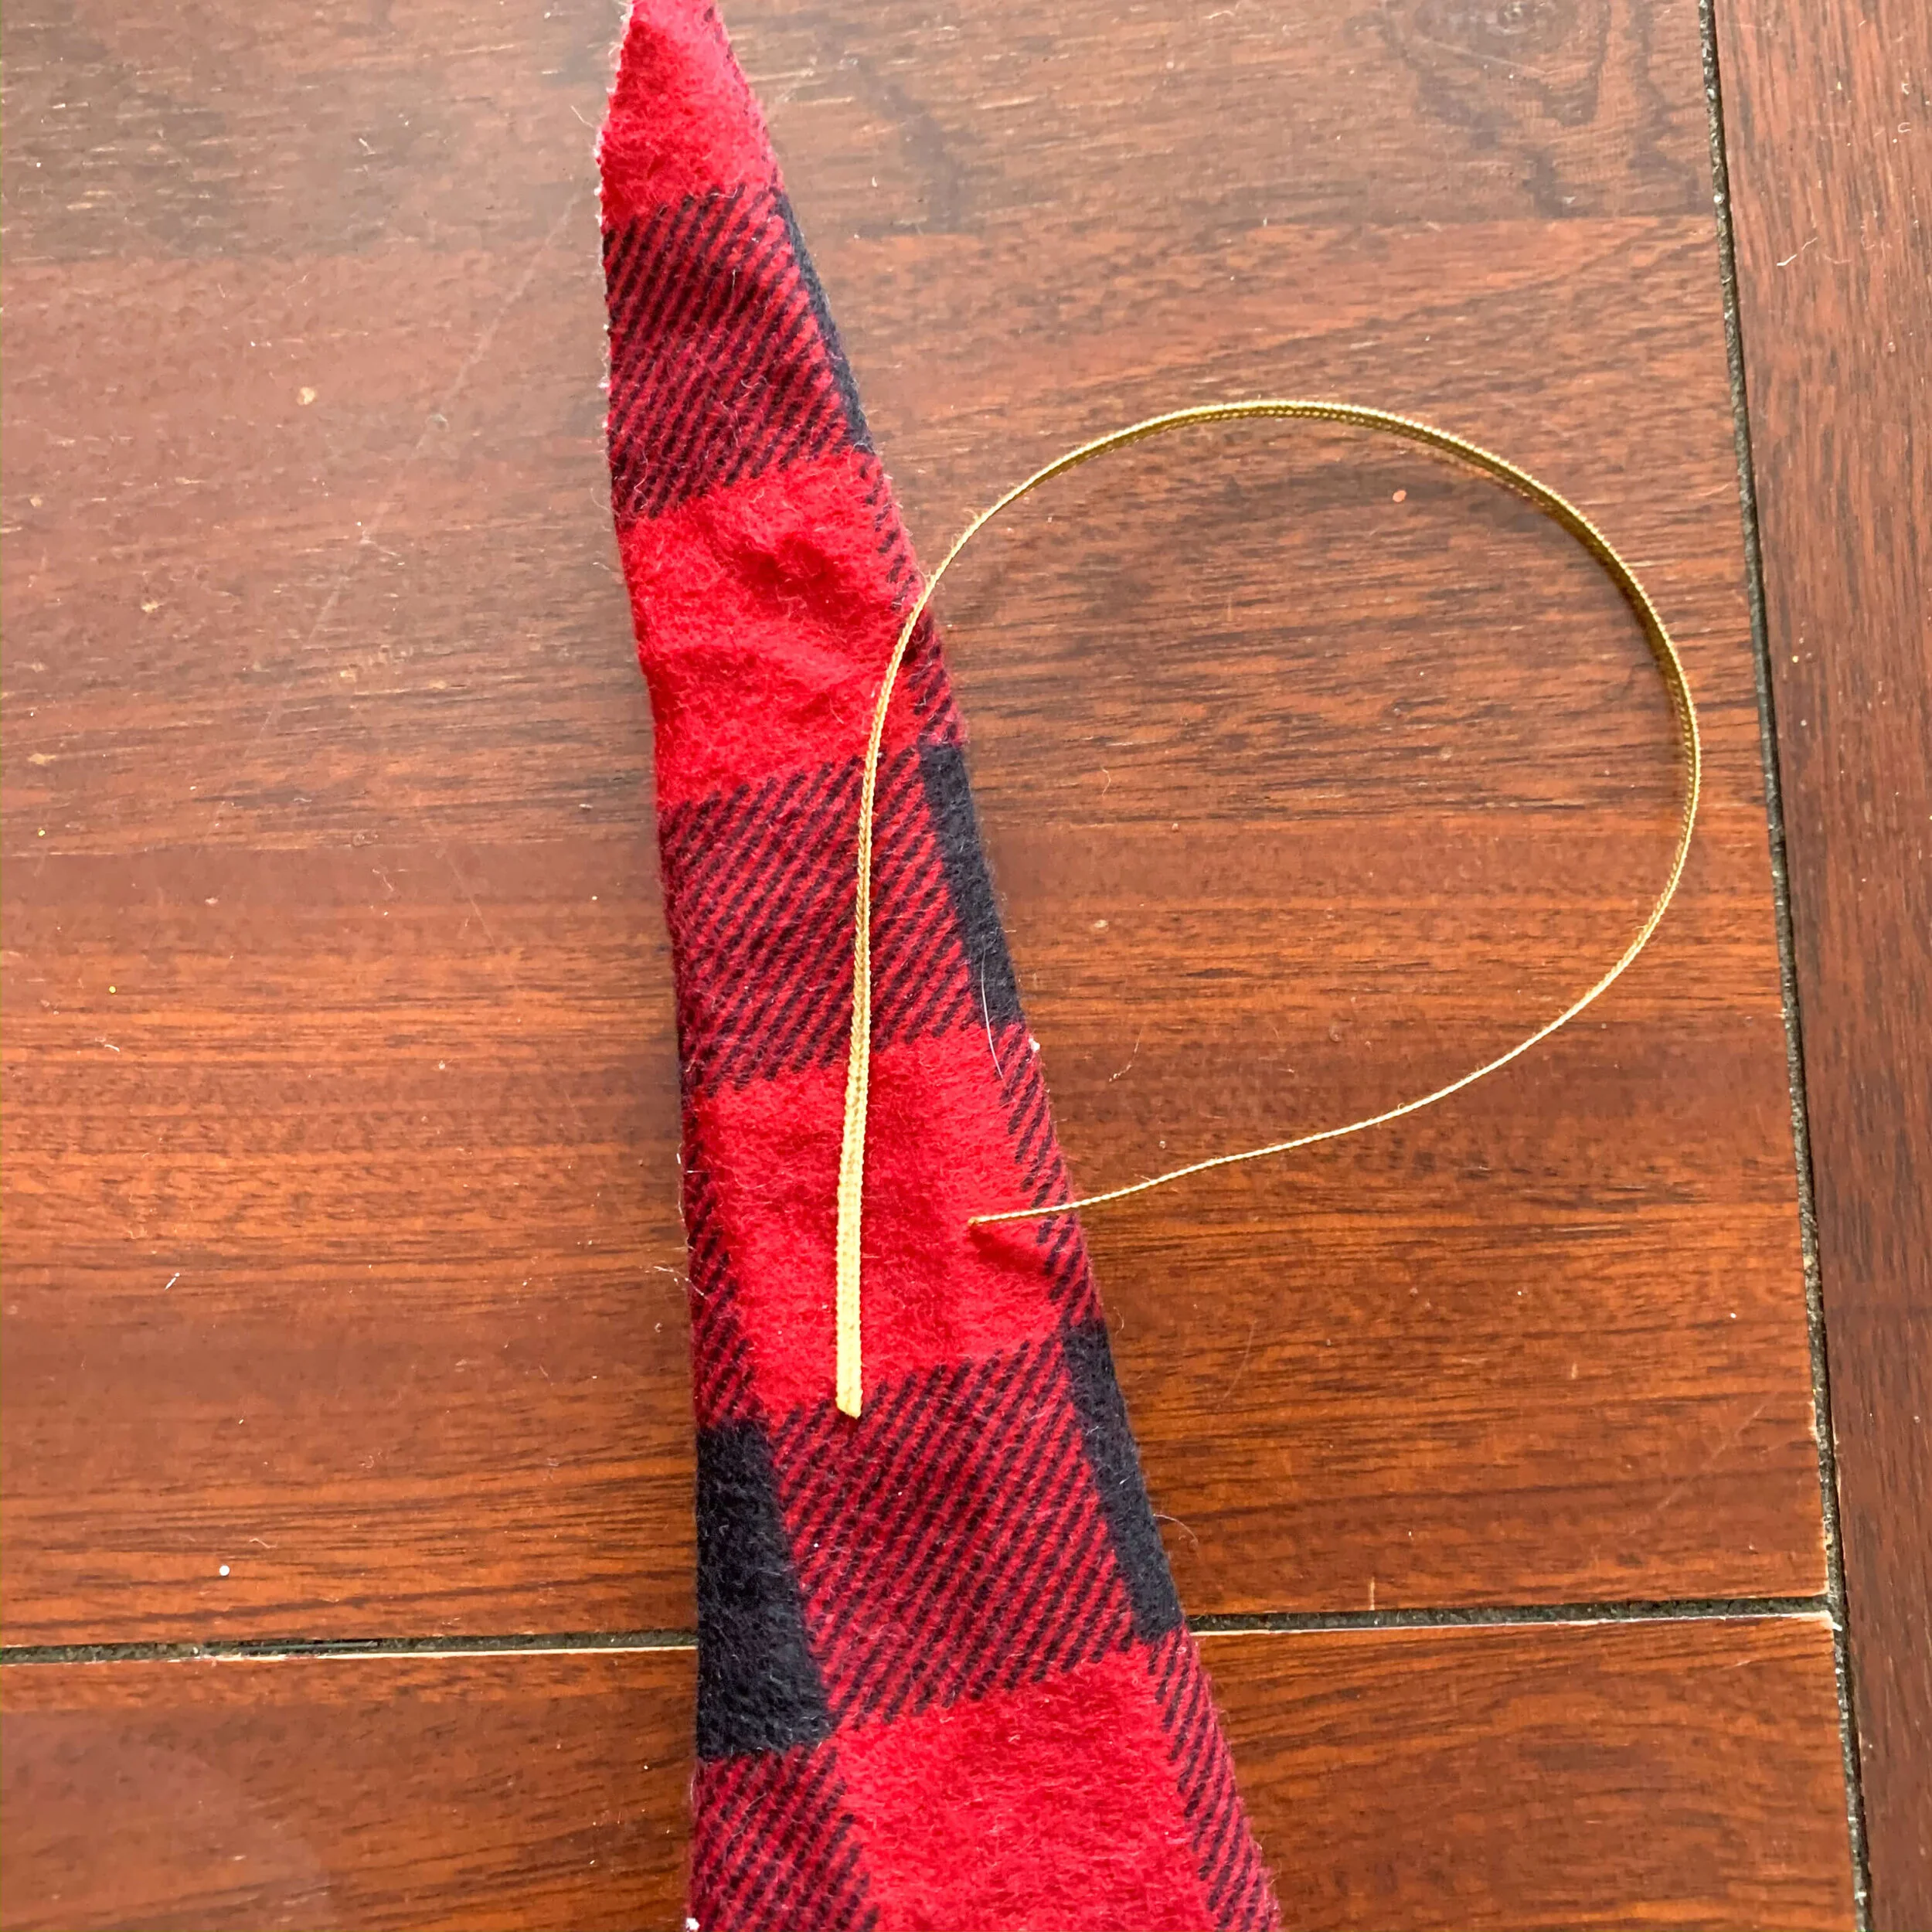
8. Cut 8 inches of cord for the hanger.
9. Sew the ends to the hat using a narrow zig-zag stitch or just hand stitch in place.
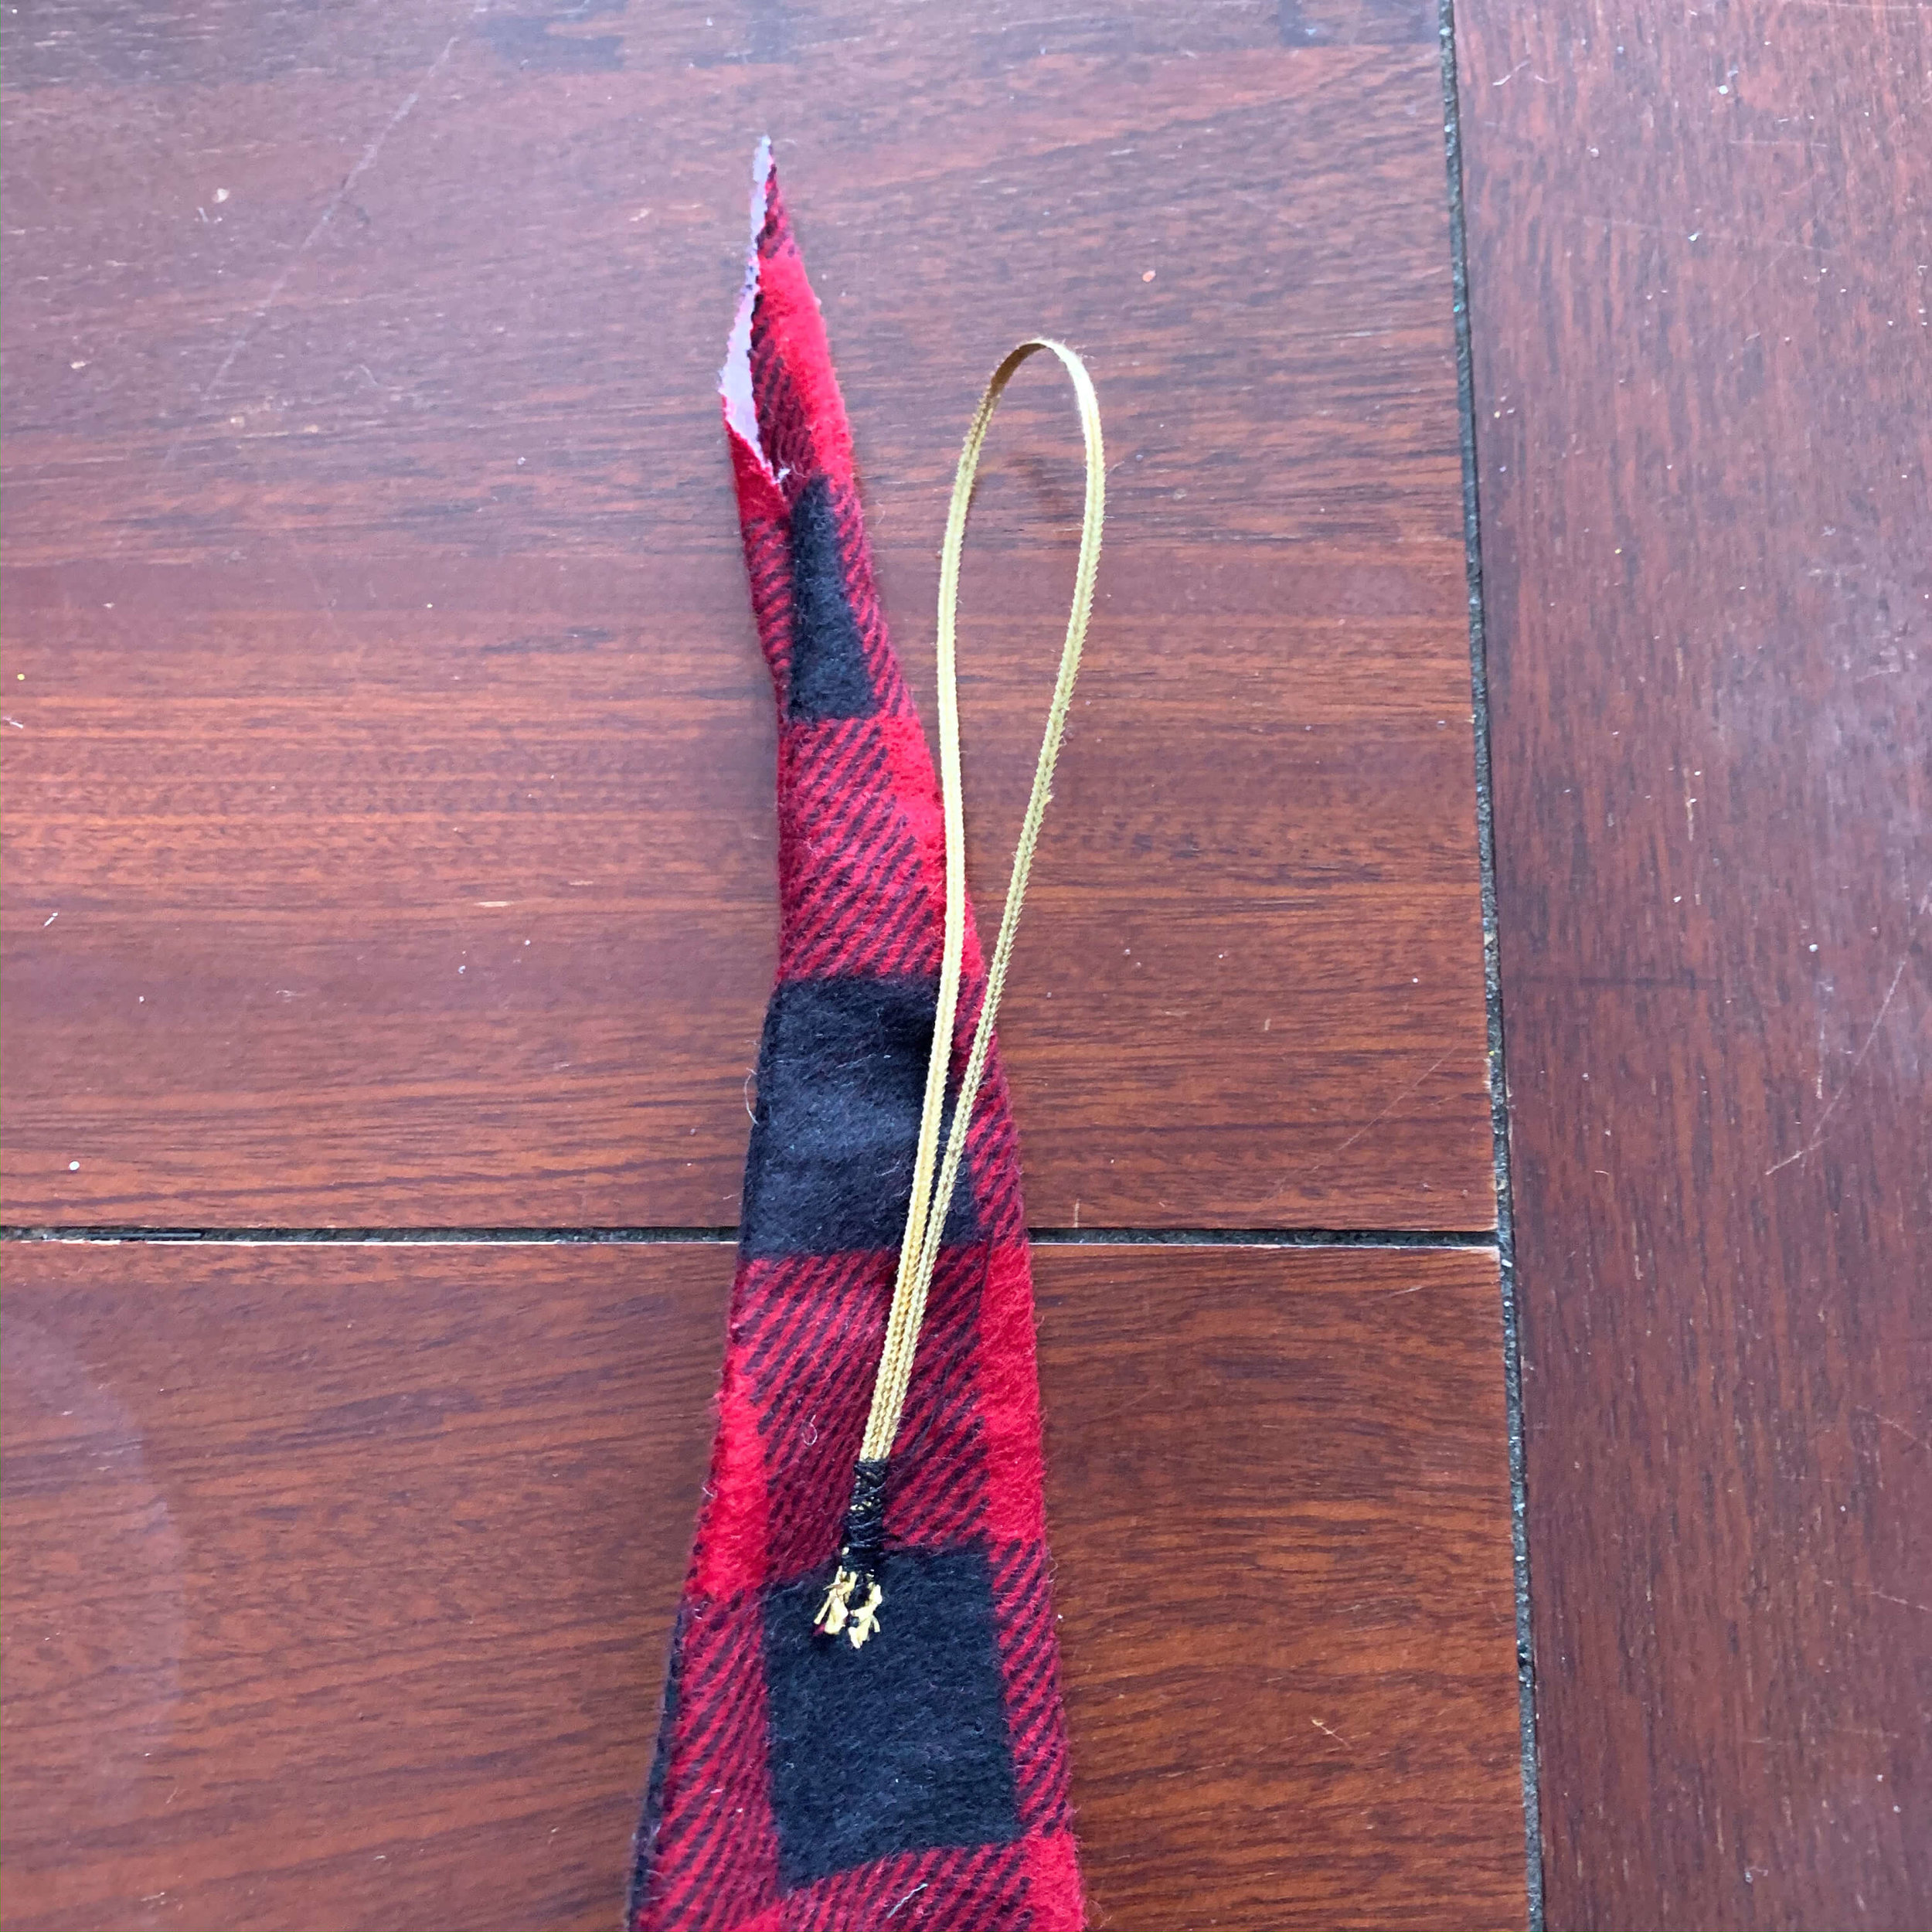
10. Hand sew the last 2 inches of the point and sew on a pom pom or jingle bell
11. Fold the hat over and add a small amount of glue to make the point hang down.

12. Insert the wood into the hat. Glue the hat to the wood
13. You can add fun embellishments as well! Buttons, bows, greenery are all options!


