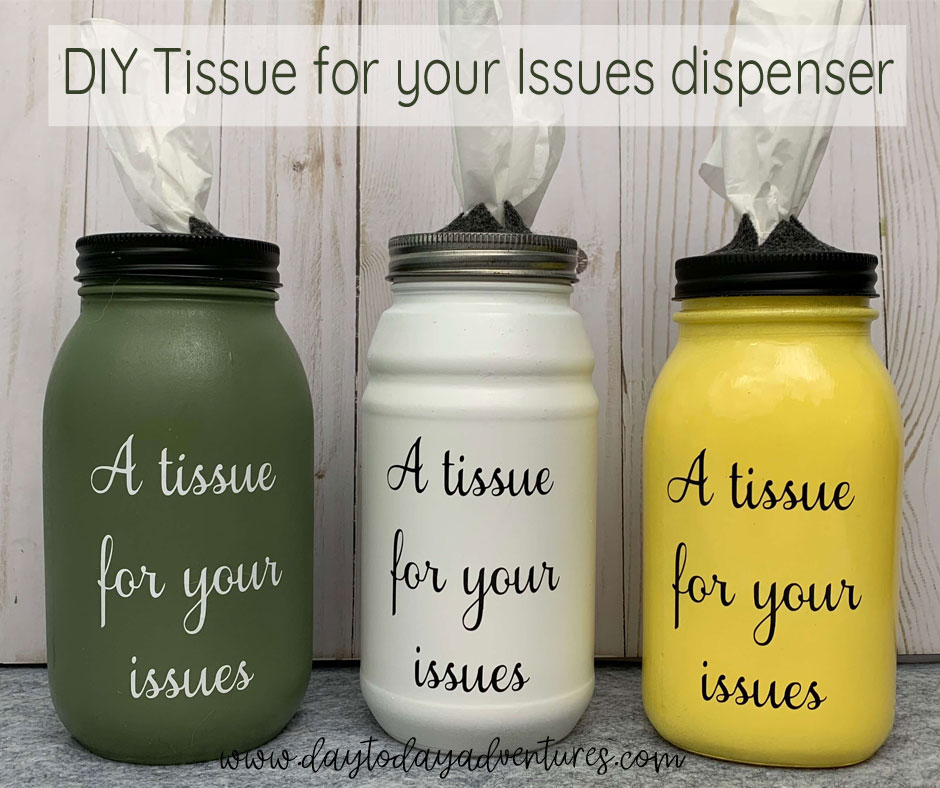
Painting mason jars is a wonderful way to add some DIY decor to your home! Plus mason jars are NOT expensive and you can find them anywhere! If you need a unique handmade gift then making mason jar tissue dispensers is a great choice! Painting jars can be tricky but the method I’m going to share has helped me not have chips or runs of paint!!
I love making Christmas gifts ahead of time and these are so easy to do in the warmer weather and tuck away for the holiday season! You can make the jars any color that you like and if you don’t have a cutting machine for the vinyl decal portion of the craft then there is an easy solution for you later in the post!
I participate in the Amazon.com affiliates program. If you make a purchase after following one of my affiliate links (see below) I earn a small commission, but it does not affect the price you pay. For more information please see my disclosure page.
Steps to make a DIY Tissue for Your Issues tissue dispenser
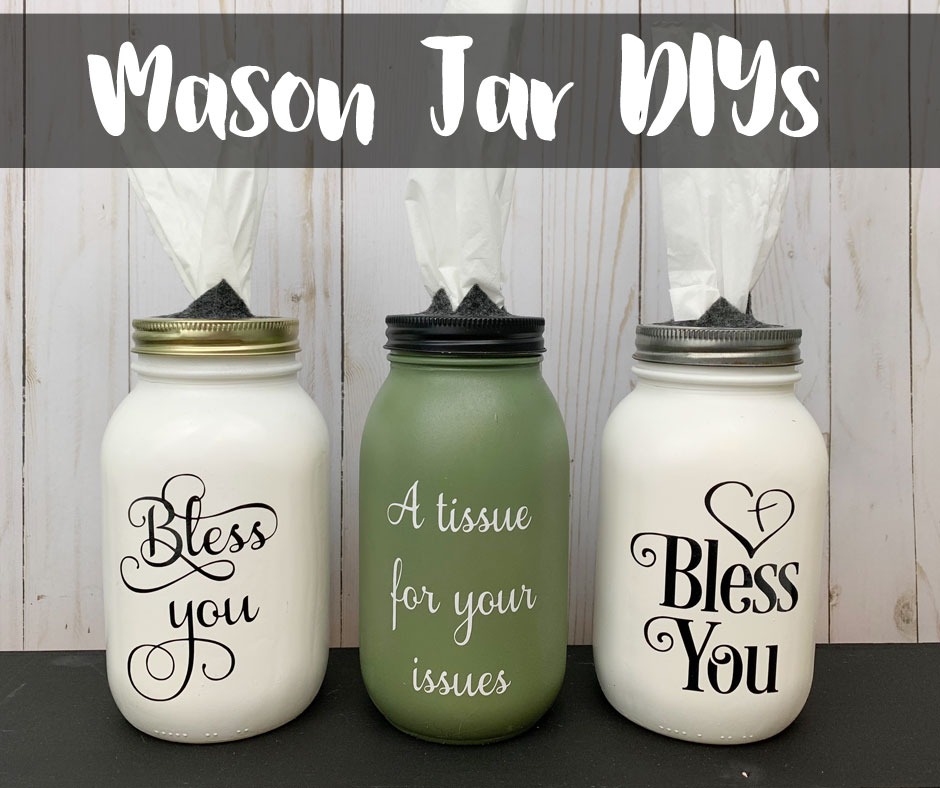
Below is a basic set of instructions for this craft project. For a more detailed explanation, head over to the DIY Bless You Jar tissue dispenser post!
Supplies needed for making a Tissue for Your Issues dispenser
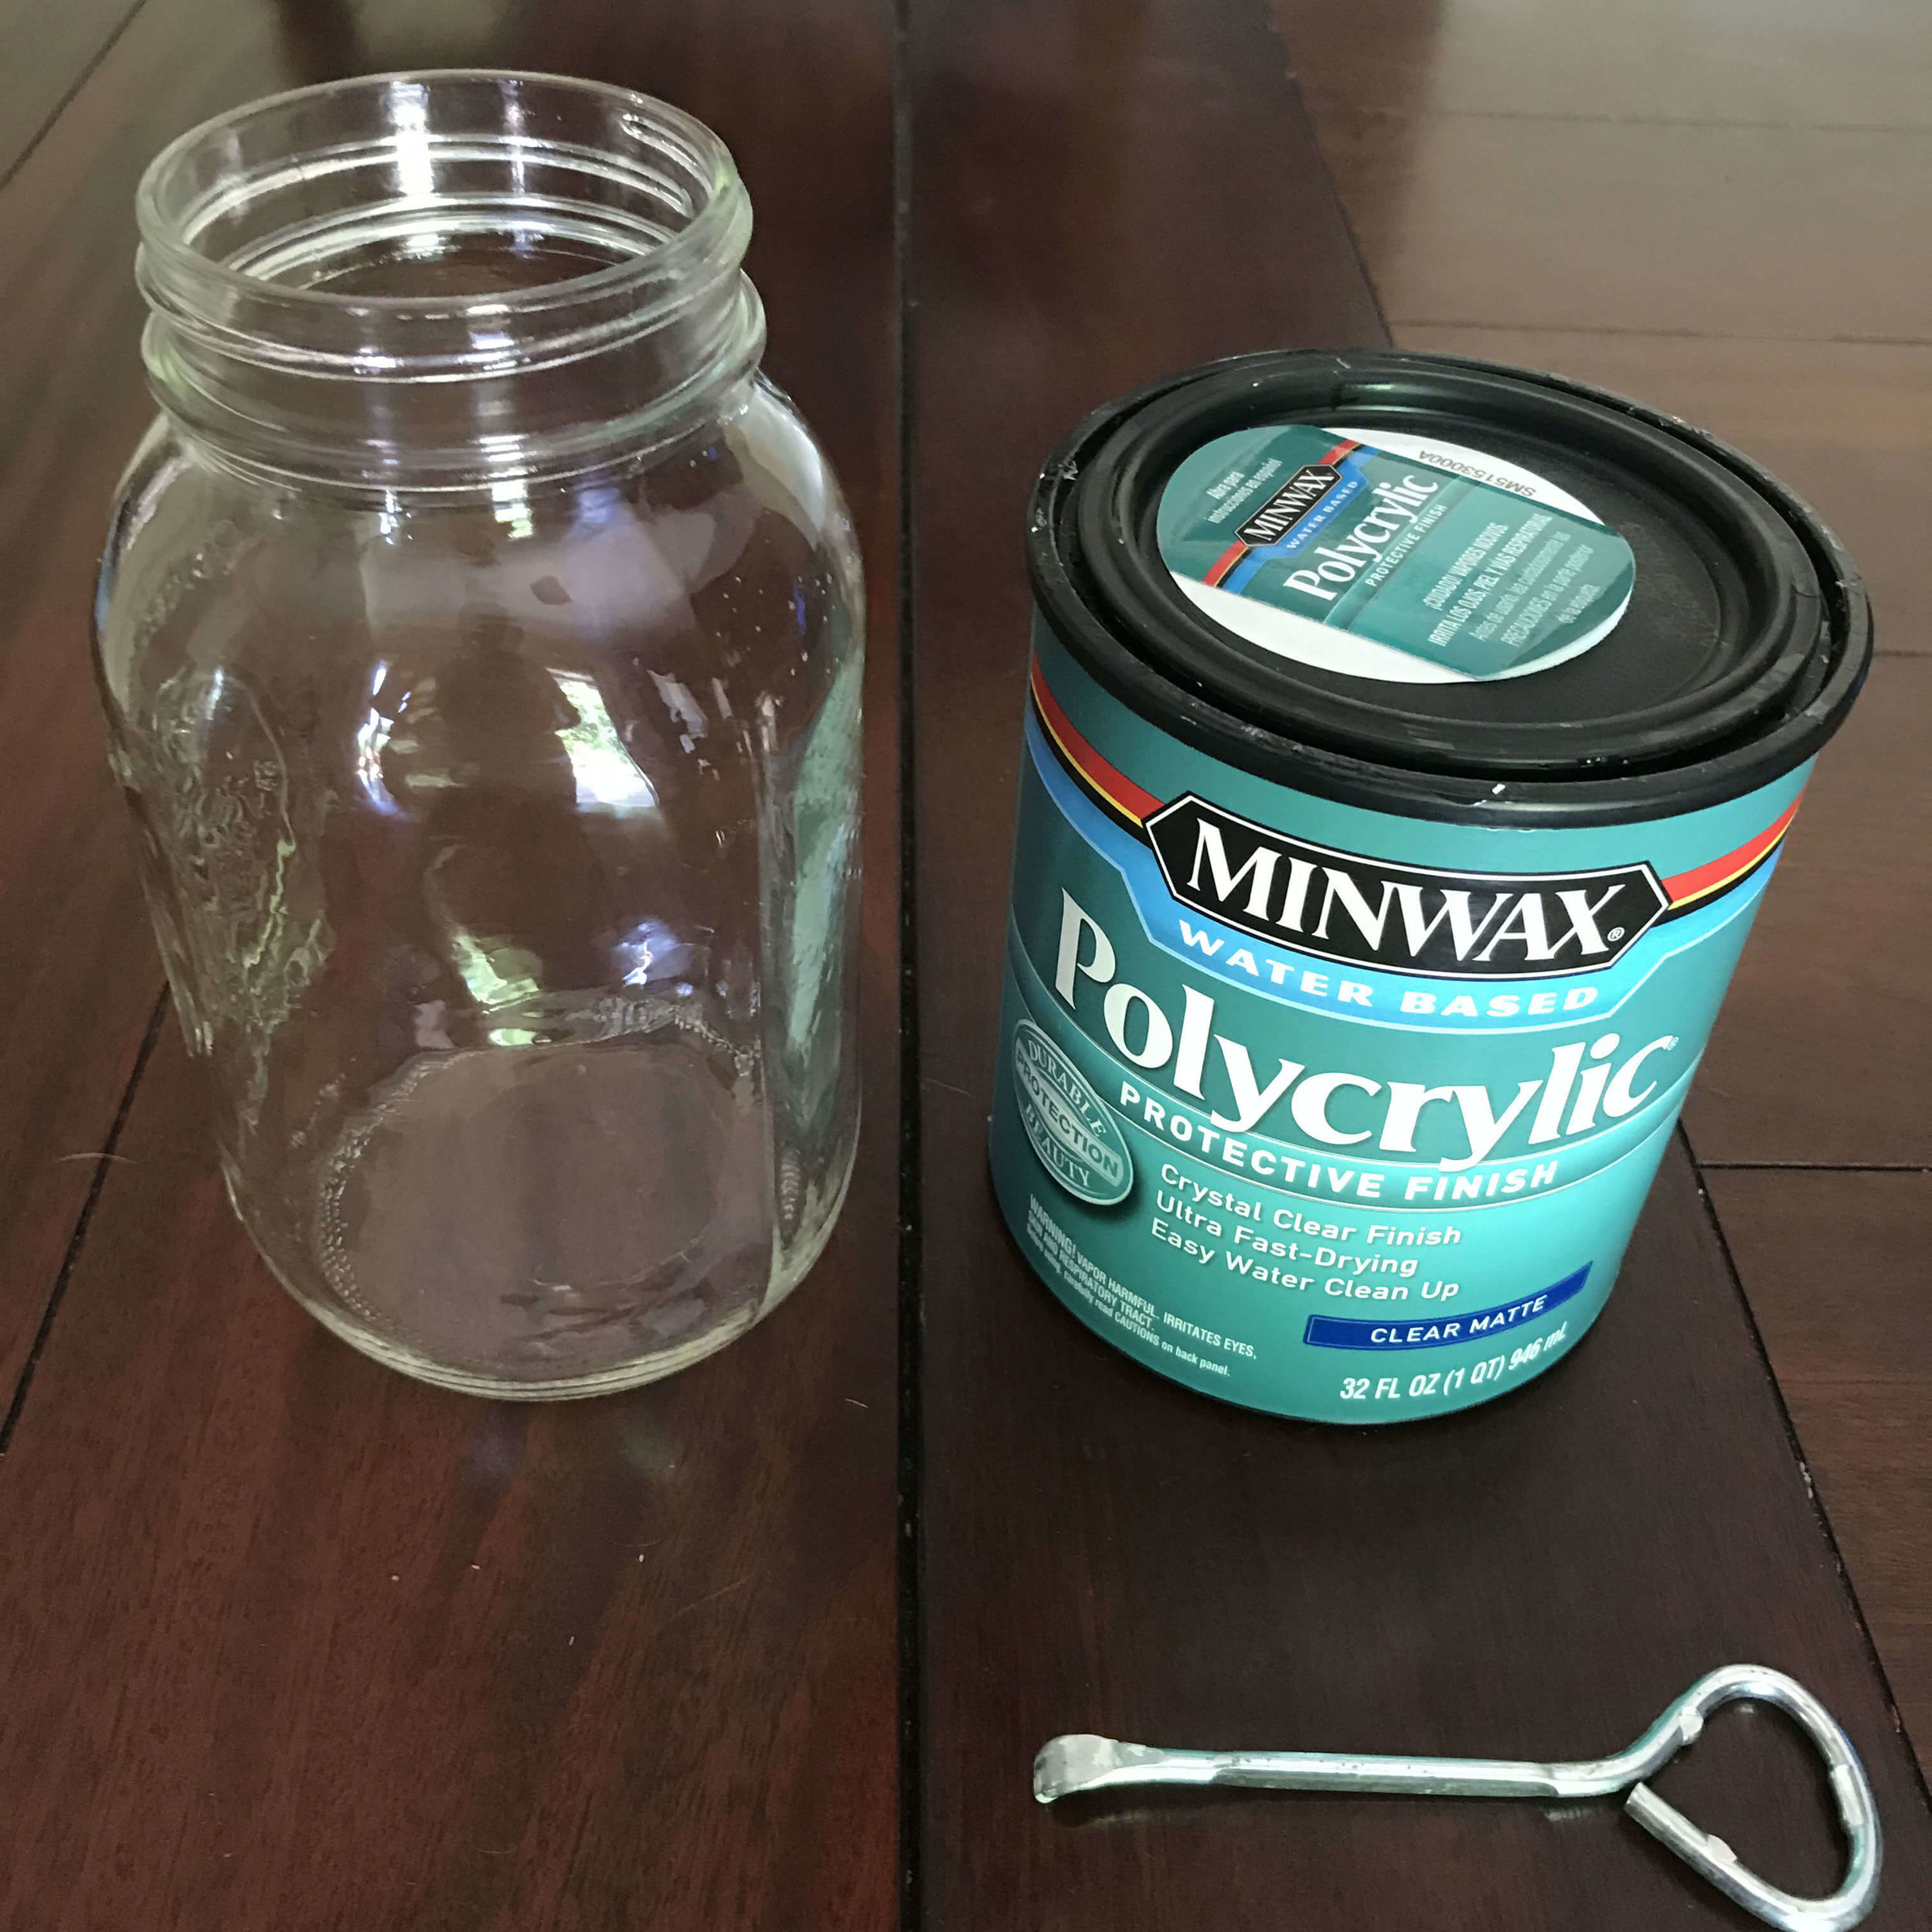
* Smooth-sided quart Mason Jars or a jar about that size (like spaghetti sauce jars) * Spray paint or chalk paint--I like to use matte or satin finish * Newspaper or cardboard to protect your surface * Foam Brush or paint brush * Spouncer or sponge makeup wedge(if you use chalk paint instead of spray paint) * Waterbased clear matte Polycrylic * Silhouette or Cricut cutting machine * Transfer Tape * Oracal 651 vinyl * Glue gun * Craft Felt * OLFA Rotary Circle Cutter * Kleenex Facial Tissues Perfect Fit * A Tissue for Your Issues Decal OR A Tissue for Your Issues digital SVG cutting file to use on your Cricut or SilhouetteStep 1 Paint your jars with Polycrylic
Step 2 Paint your jars with 2-3 coats of spray paint

Step 3 Let completely dry 12-24 hours
Step 4 Paint Your Jars AGAIN with Polycrylic
Step 5 Bake in a 170 degree oven for 5-10 minutes

Step 6 Design and cut the vinyl words "A Tissues for Your Issues" using your favorite swirly font OR purchase the digital cutting file from my other business, Blue Daisy Dreamer! I used Oracal 651 vinyl and my Silhouette Cameo machine (you could use a Cricut as well) to cut this decal. Available in .svg, .dfx, .png, and .png formats

Don't have a cutting machine available?
Purchase one cut and weeded, A Tissue for Your Issues decal for $5!!!
Step 7 Weed the decal and apply transfer tape if you are cutting your own!
Step 8 Apply the decal to your jar
Step 9 Cut felt to fit the ring, snip an X in the felt & hot glue it in the ring

Step 10 Open a box of tissues and use about 1/4 or less of the box to fill your jar. If you want to watch the process you can go to FB and watch a video there.

Step 11 Put the ring on and pull the tissues up through the felt.

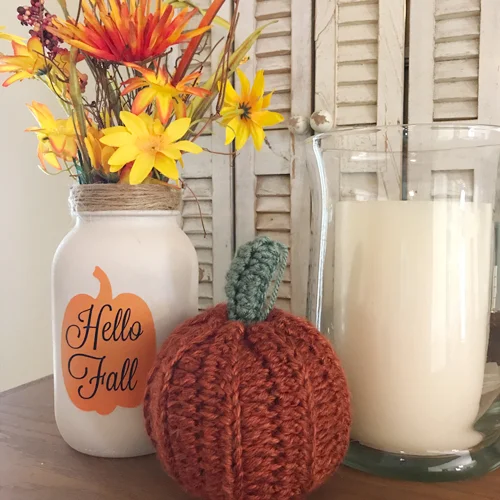
Tada! Your Tissue for Your Issues mason jar is finished! You can add some ribbon or twine if you want or even silk flowers to decorate it a little more—it’s up to you!
Using a cutting machine for home decor projects
Each month I join with several other friends to do a themed craft post! This month is all about cutting machines. When I first got my Silhouette cutting machine all I used it for was scrapbooking! And I still love it for that task but there are SO many other uses for it!
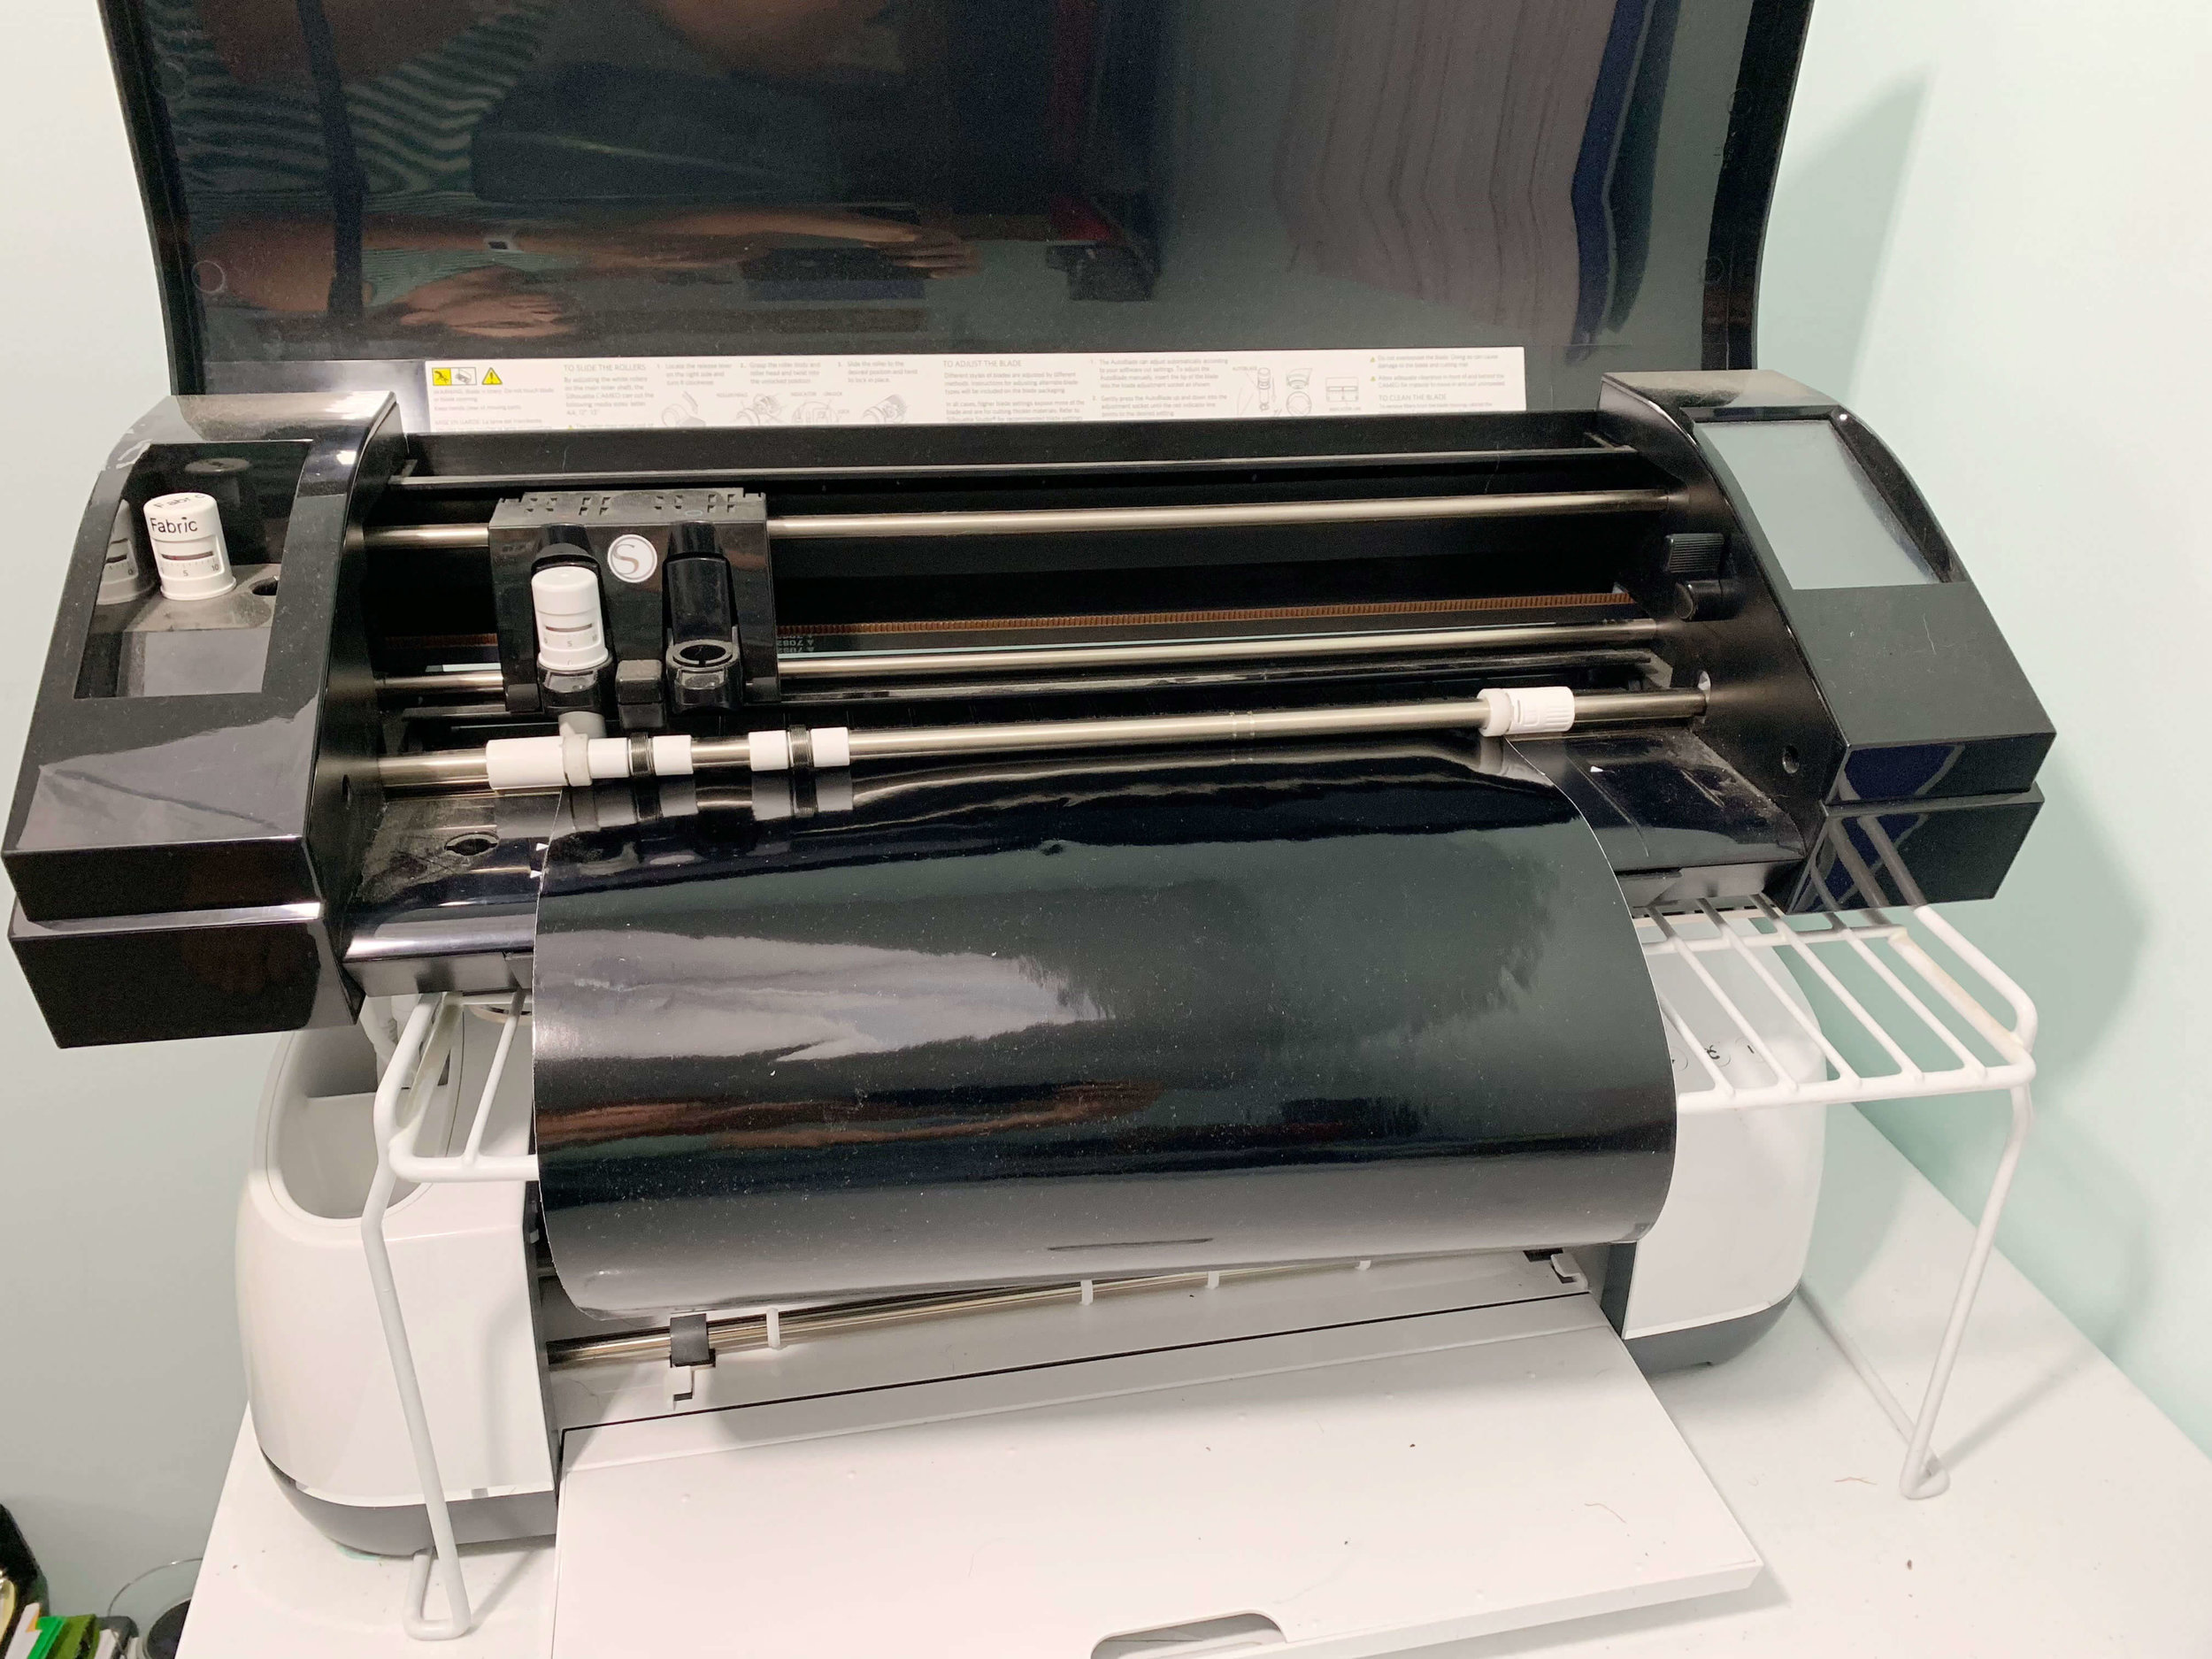
A cutting machine can cut out stencils, vinyl, fabric, chip board, and of course scrapbook paper. Recently I invested in a Cricut Maker so that I can cut felt for making felt succulents and flowers. Post coming on that soon I hope!
One of the challenges of having 2 machines is the space they take up. Stacking them turned out to be the easiest solution! This wire rack does a great job of holding my Silhouette which I use more frequently while still allowing me to access the Cricut. It’s magic when I have them both cutting at the same time!

For more cutting machine projects click on any of the graphics below!

DIY Bless You Mason Jar Tissue Dispenser

DIY Growth Chart
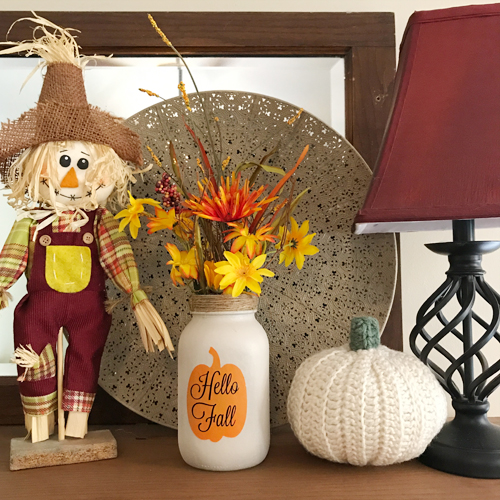
Spray Paint and Stenciling Mason Jars for Fall Decor
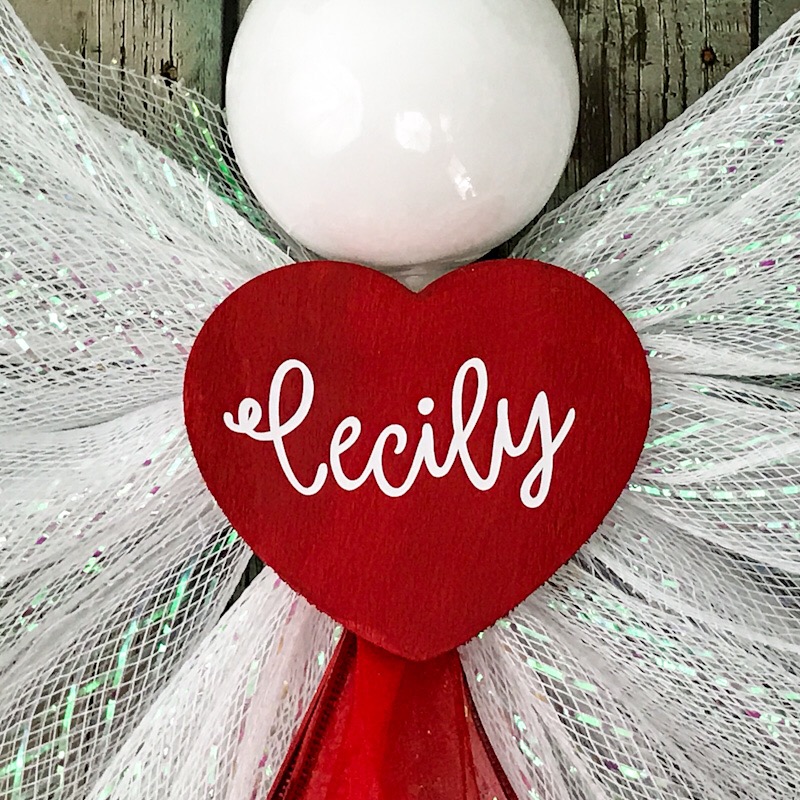
Deco Mesh Angel Tutorial

DIY Christmas Jenga Ornaments
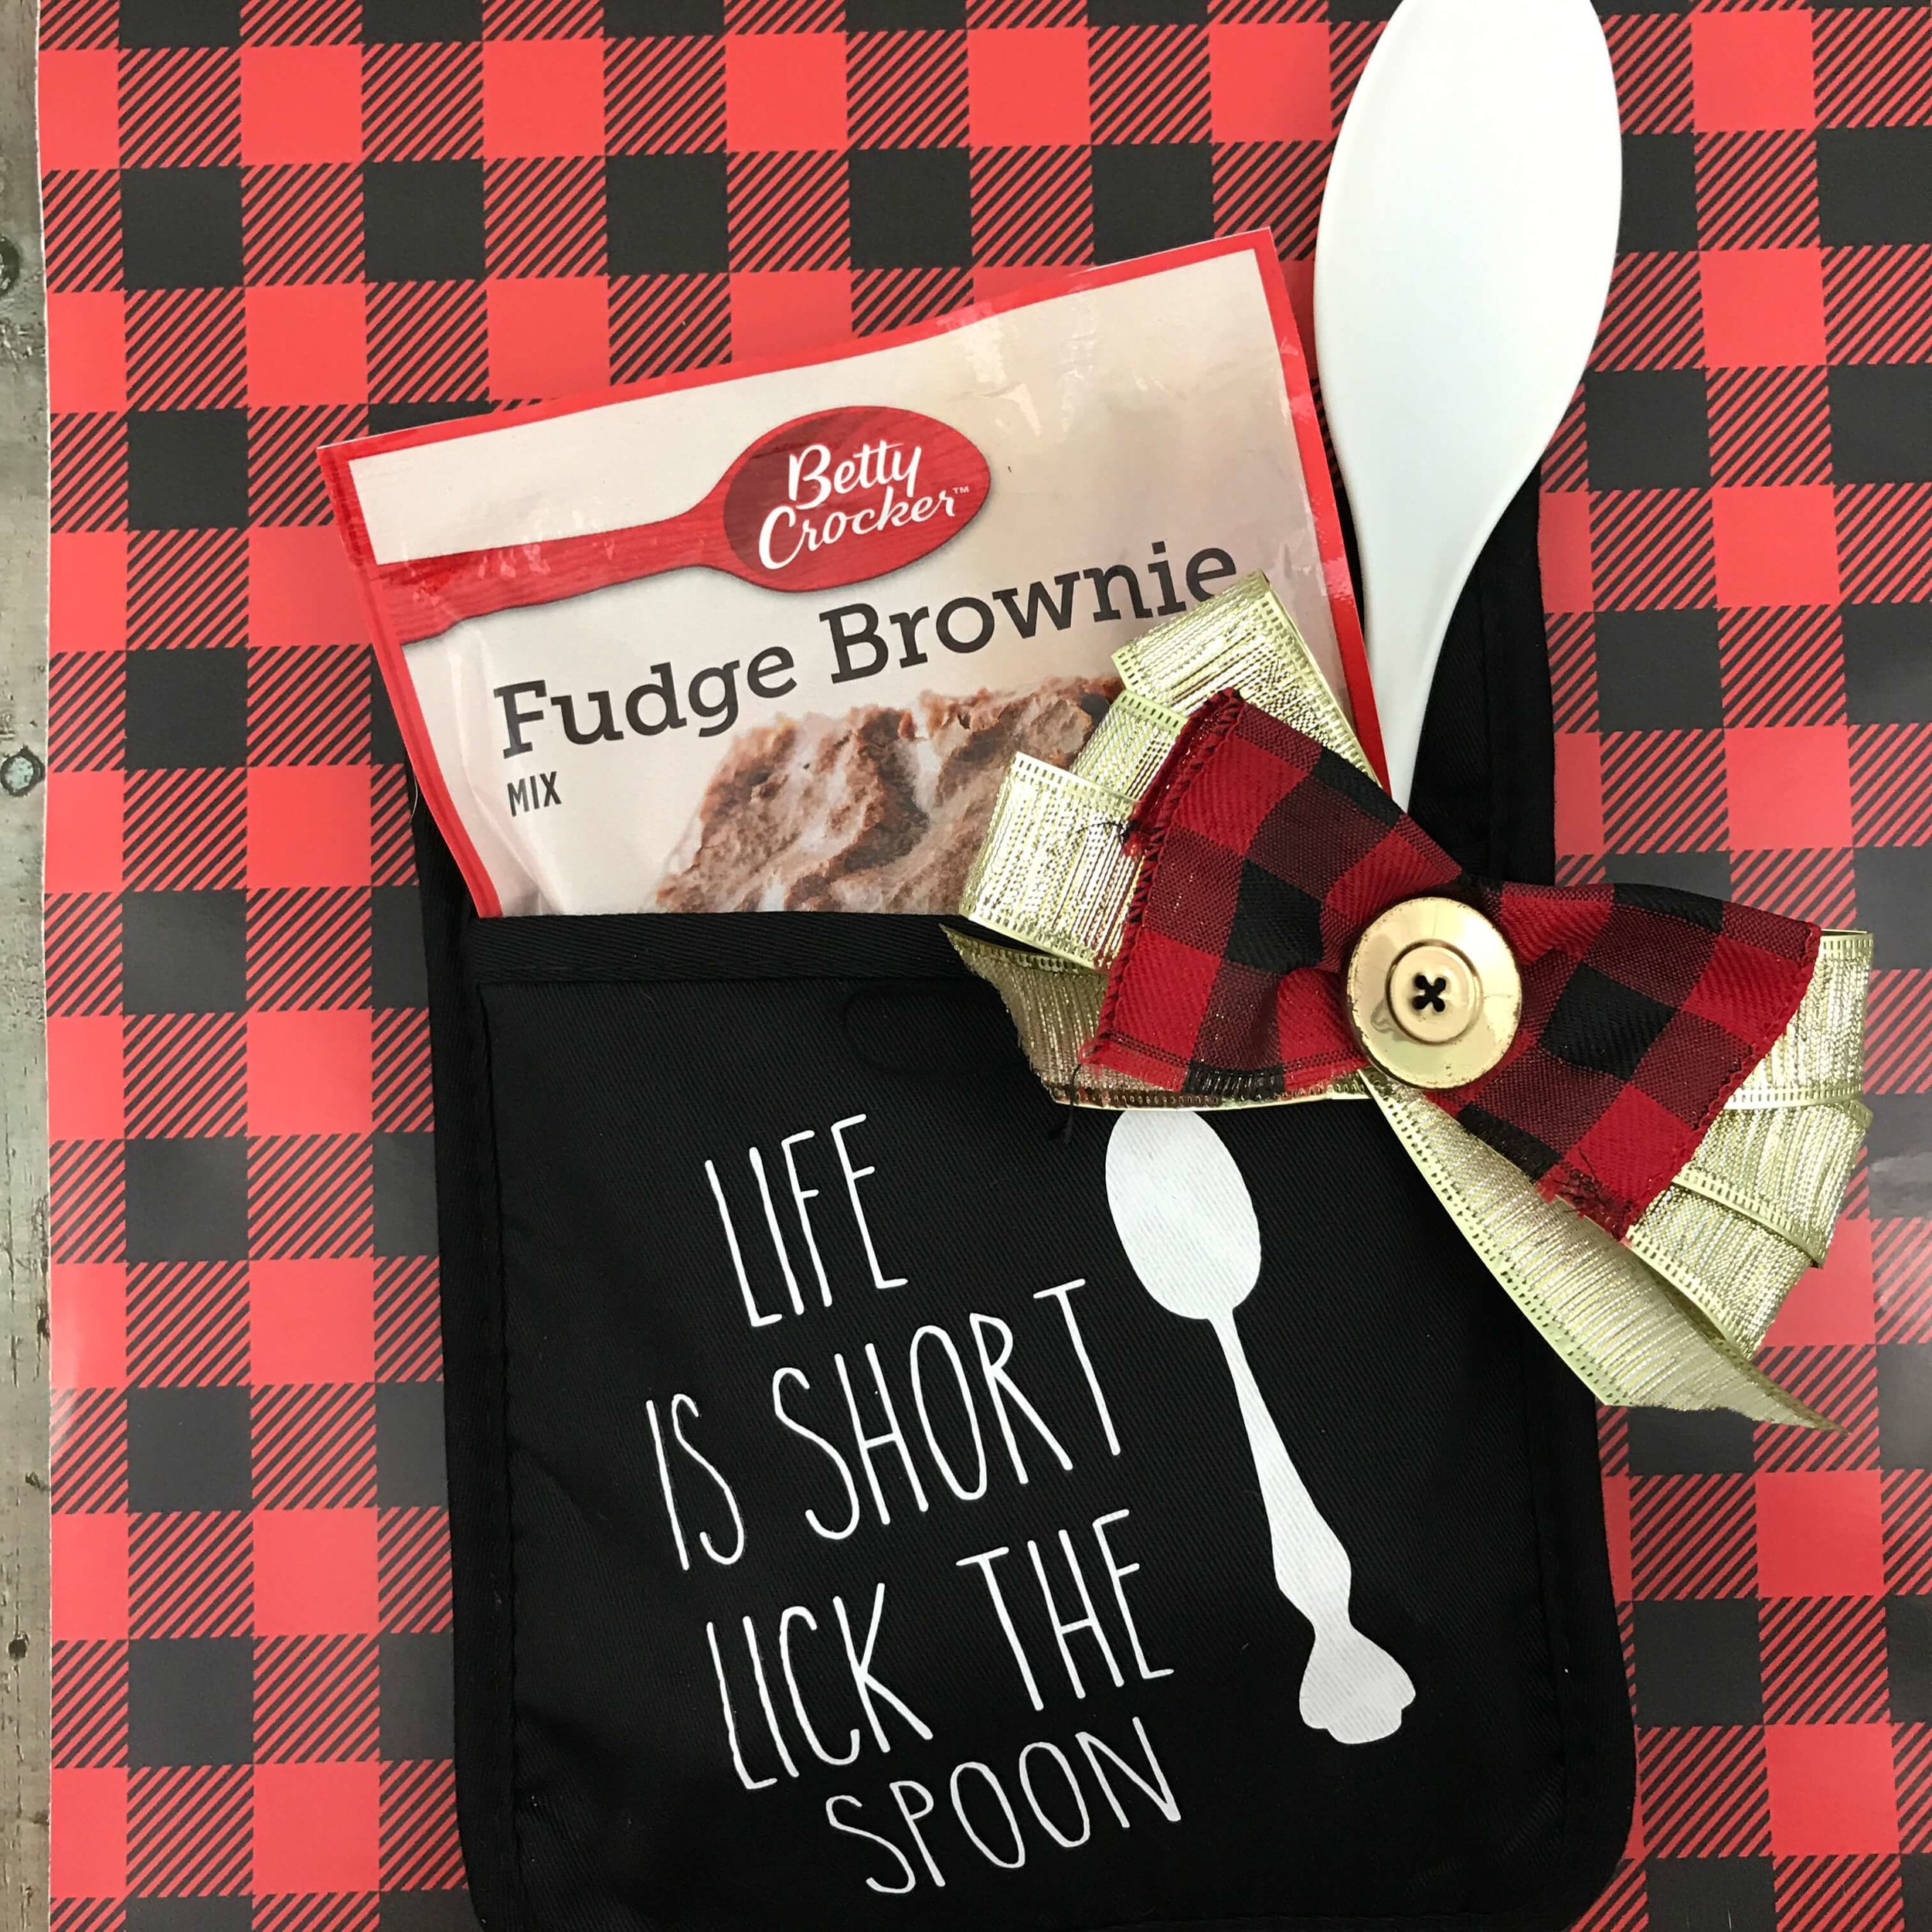
DIY Brownie Mix with Hot Pad Christmas Gift

Bring on the Crafts — A Craft & DIY Blog Hop
On the first Friday through Sunday of each month, a group of DIY and crafty bloggers join forces to create a fun craft or DIY project to share that follows a monthly materials theme. Together, with hosts Marie from Elle Marie Home and Habiba from Craftify My Love, they share the #BringontheCrafts blog hop with you. August's theme is Cutting Machines! Each blogger chooses their own craft to make as long as they love it and it uses a Cutting Machine for the project.
Our August Co-hosts
Jenny at Cookies, Coffee and Crafts • Kim at Day to Day Adventures Marie at DIY Adulation • Janet at Try It – Like It • Beverly at Across the Blvd
Join in on the fun! If you'd like to participate next month, you can request to join our Bring on the Crafts Facebook Group. Next month's theme is Wood!
Not a blogger, but a creative mind none the less!? Don't worry, Share your awesome creations in our Craft Cult Facebook Group. This is also a great place to ask craft & DIY related questions and find inspiration for your next project.
Now let's see all of those amazing Craft and DIY Projects!
What to read next!