
My computer likes to run hot.
The fan is continually blowing. When I sit with my laptop on my legs, it can really heat up the space.
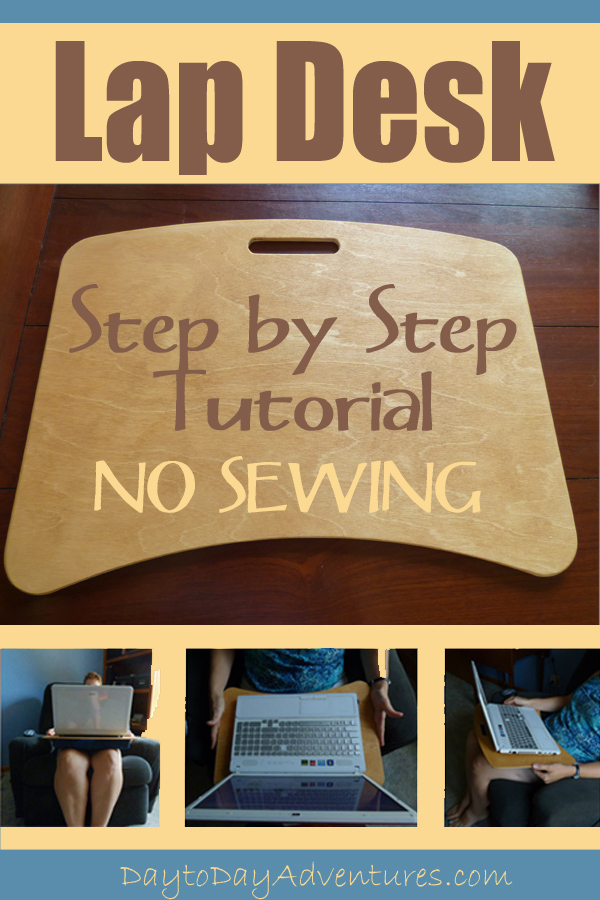
So I went searching for a solution. All the lap desks that I found on Amazon were too expensive or not my style.
After looking at several tutorials online I decided to make my own. It allowed me to customize the fabric and look of the wood.
It also cost MUCH LESS than the fancy ones I found online.
More DIY projects! Don't miss them!
Pool Hammock * Custom cushion for a Window Seat * Ombre Drawers for Cabinet
Supplies for wooden Lap Desk
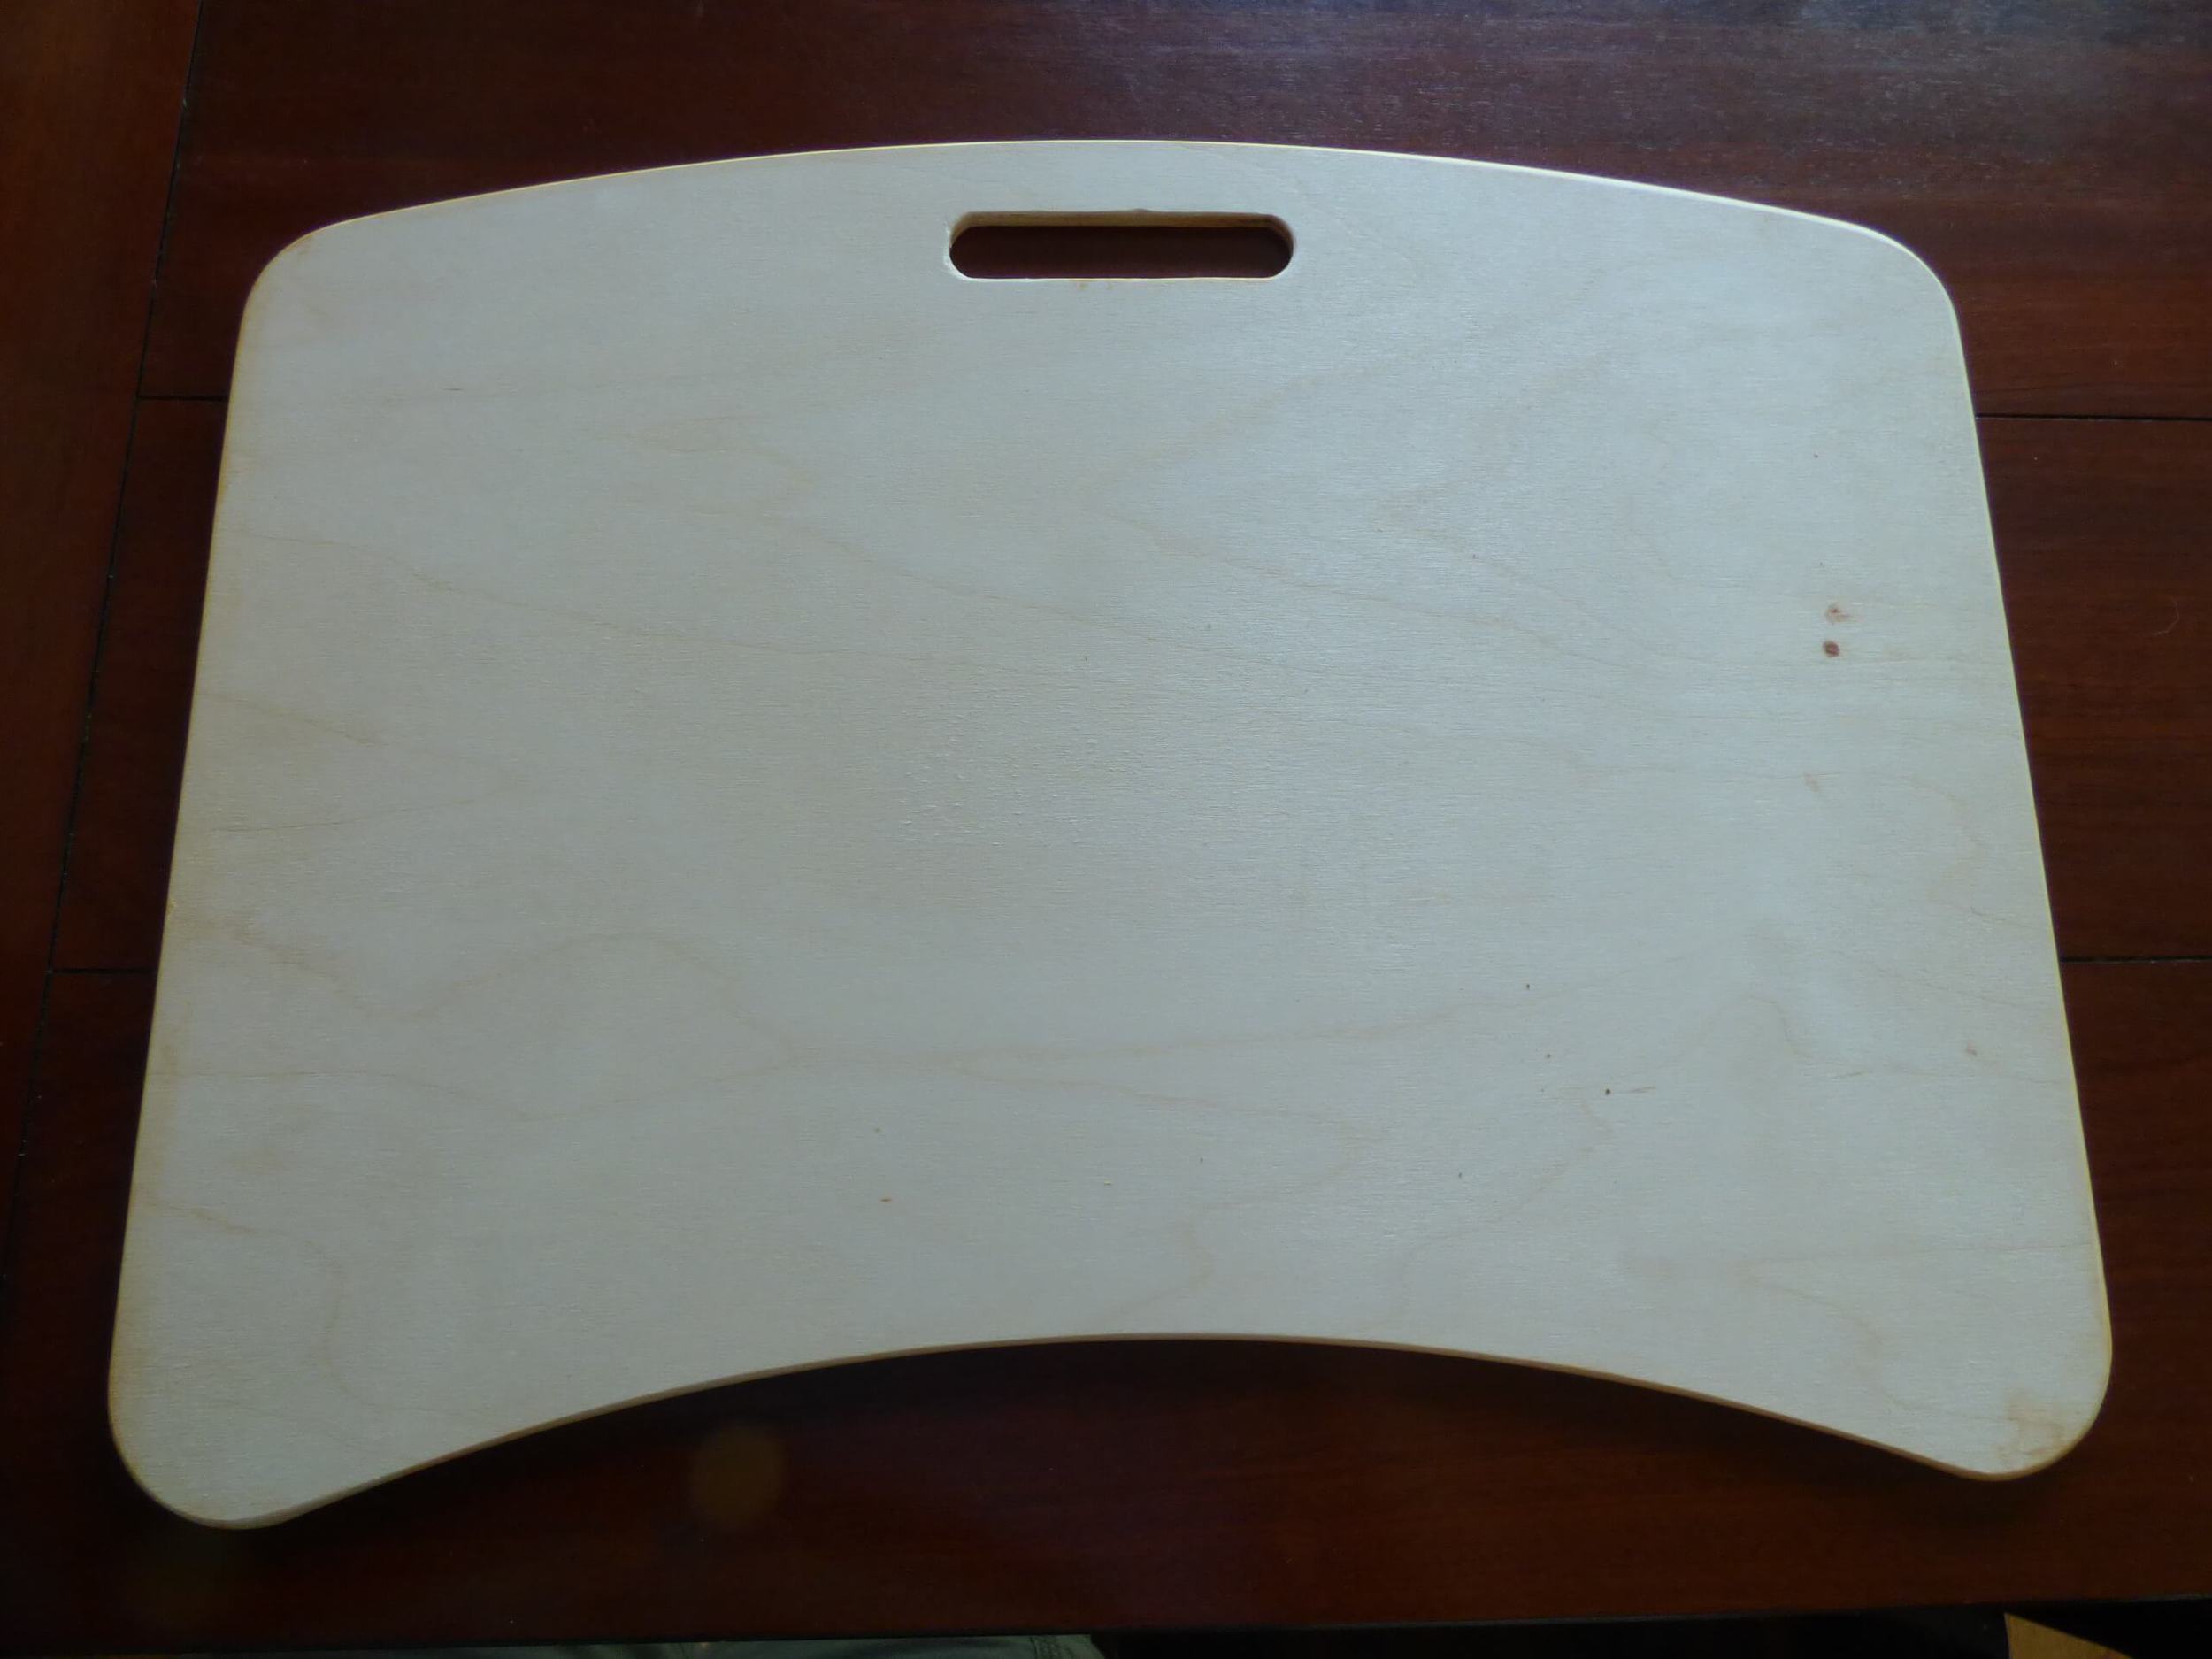
- unfinished wooden lap desk from Home Depot. I checked other hardware stores & Home Depot was the only one that had it. It cost me less than $6 and it came to the store so no shipping(score!)
- stain or paint
- foam chair pad or an old flat throw pillow(recycle!)
- fabric 1/3-1/2 yard
- glue
- staples & stapler
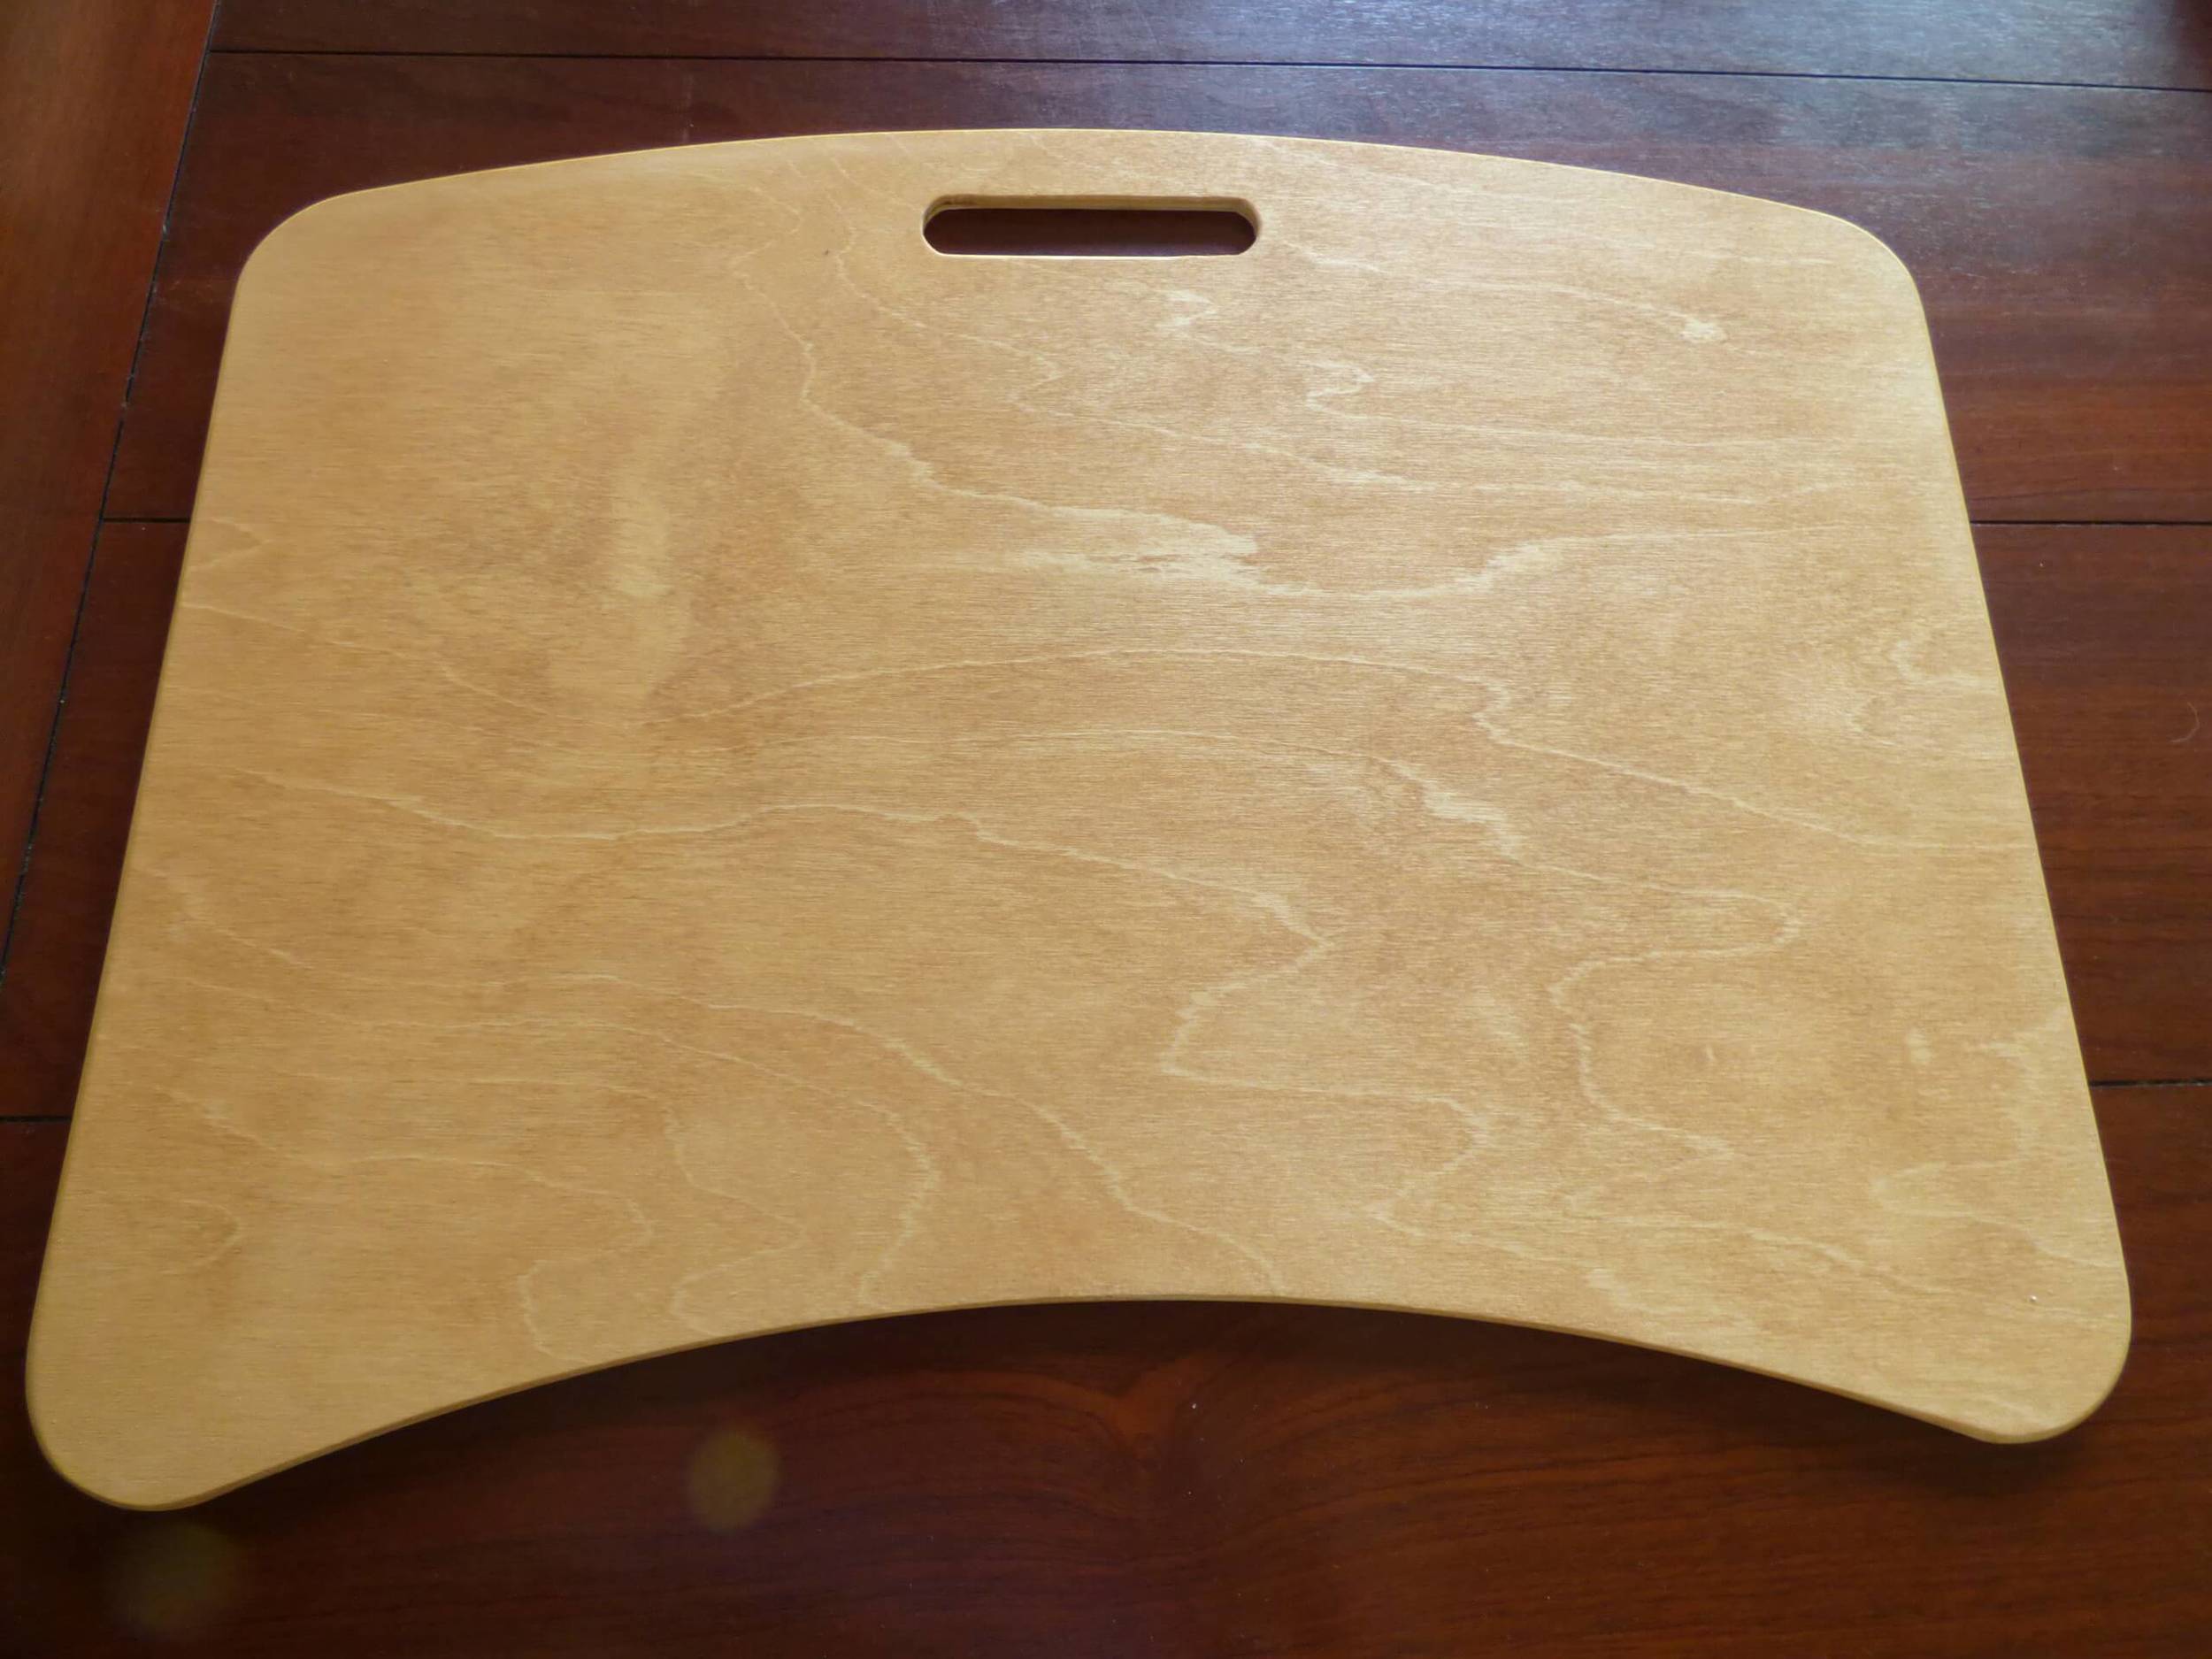
Step 1--Stain or paint the wooden lap desk your preferred color. Mine matches the woodwork in our house. I like it but you can choose any color or even paint it.
Step 2—-I bought a foam chair pad from Hobby Lobby. Again it was very inexpensive. I cut the foam to be smaller than the wooden desk. Make sure to cut it so that the handle isn't covered.(see pictures below)
Step 3—-Cut the foam to the shape of the wooden desk and then glue it on. Let it dry for a bit. I waited 15-20 minutes.
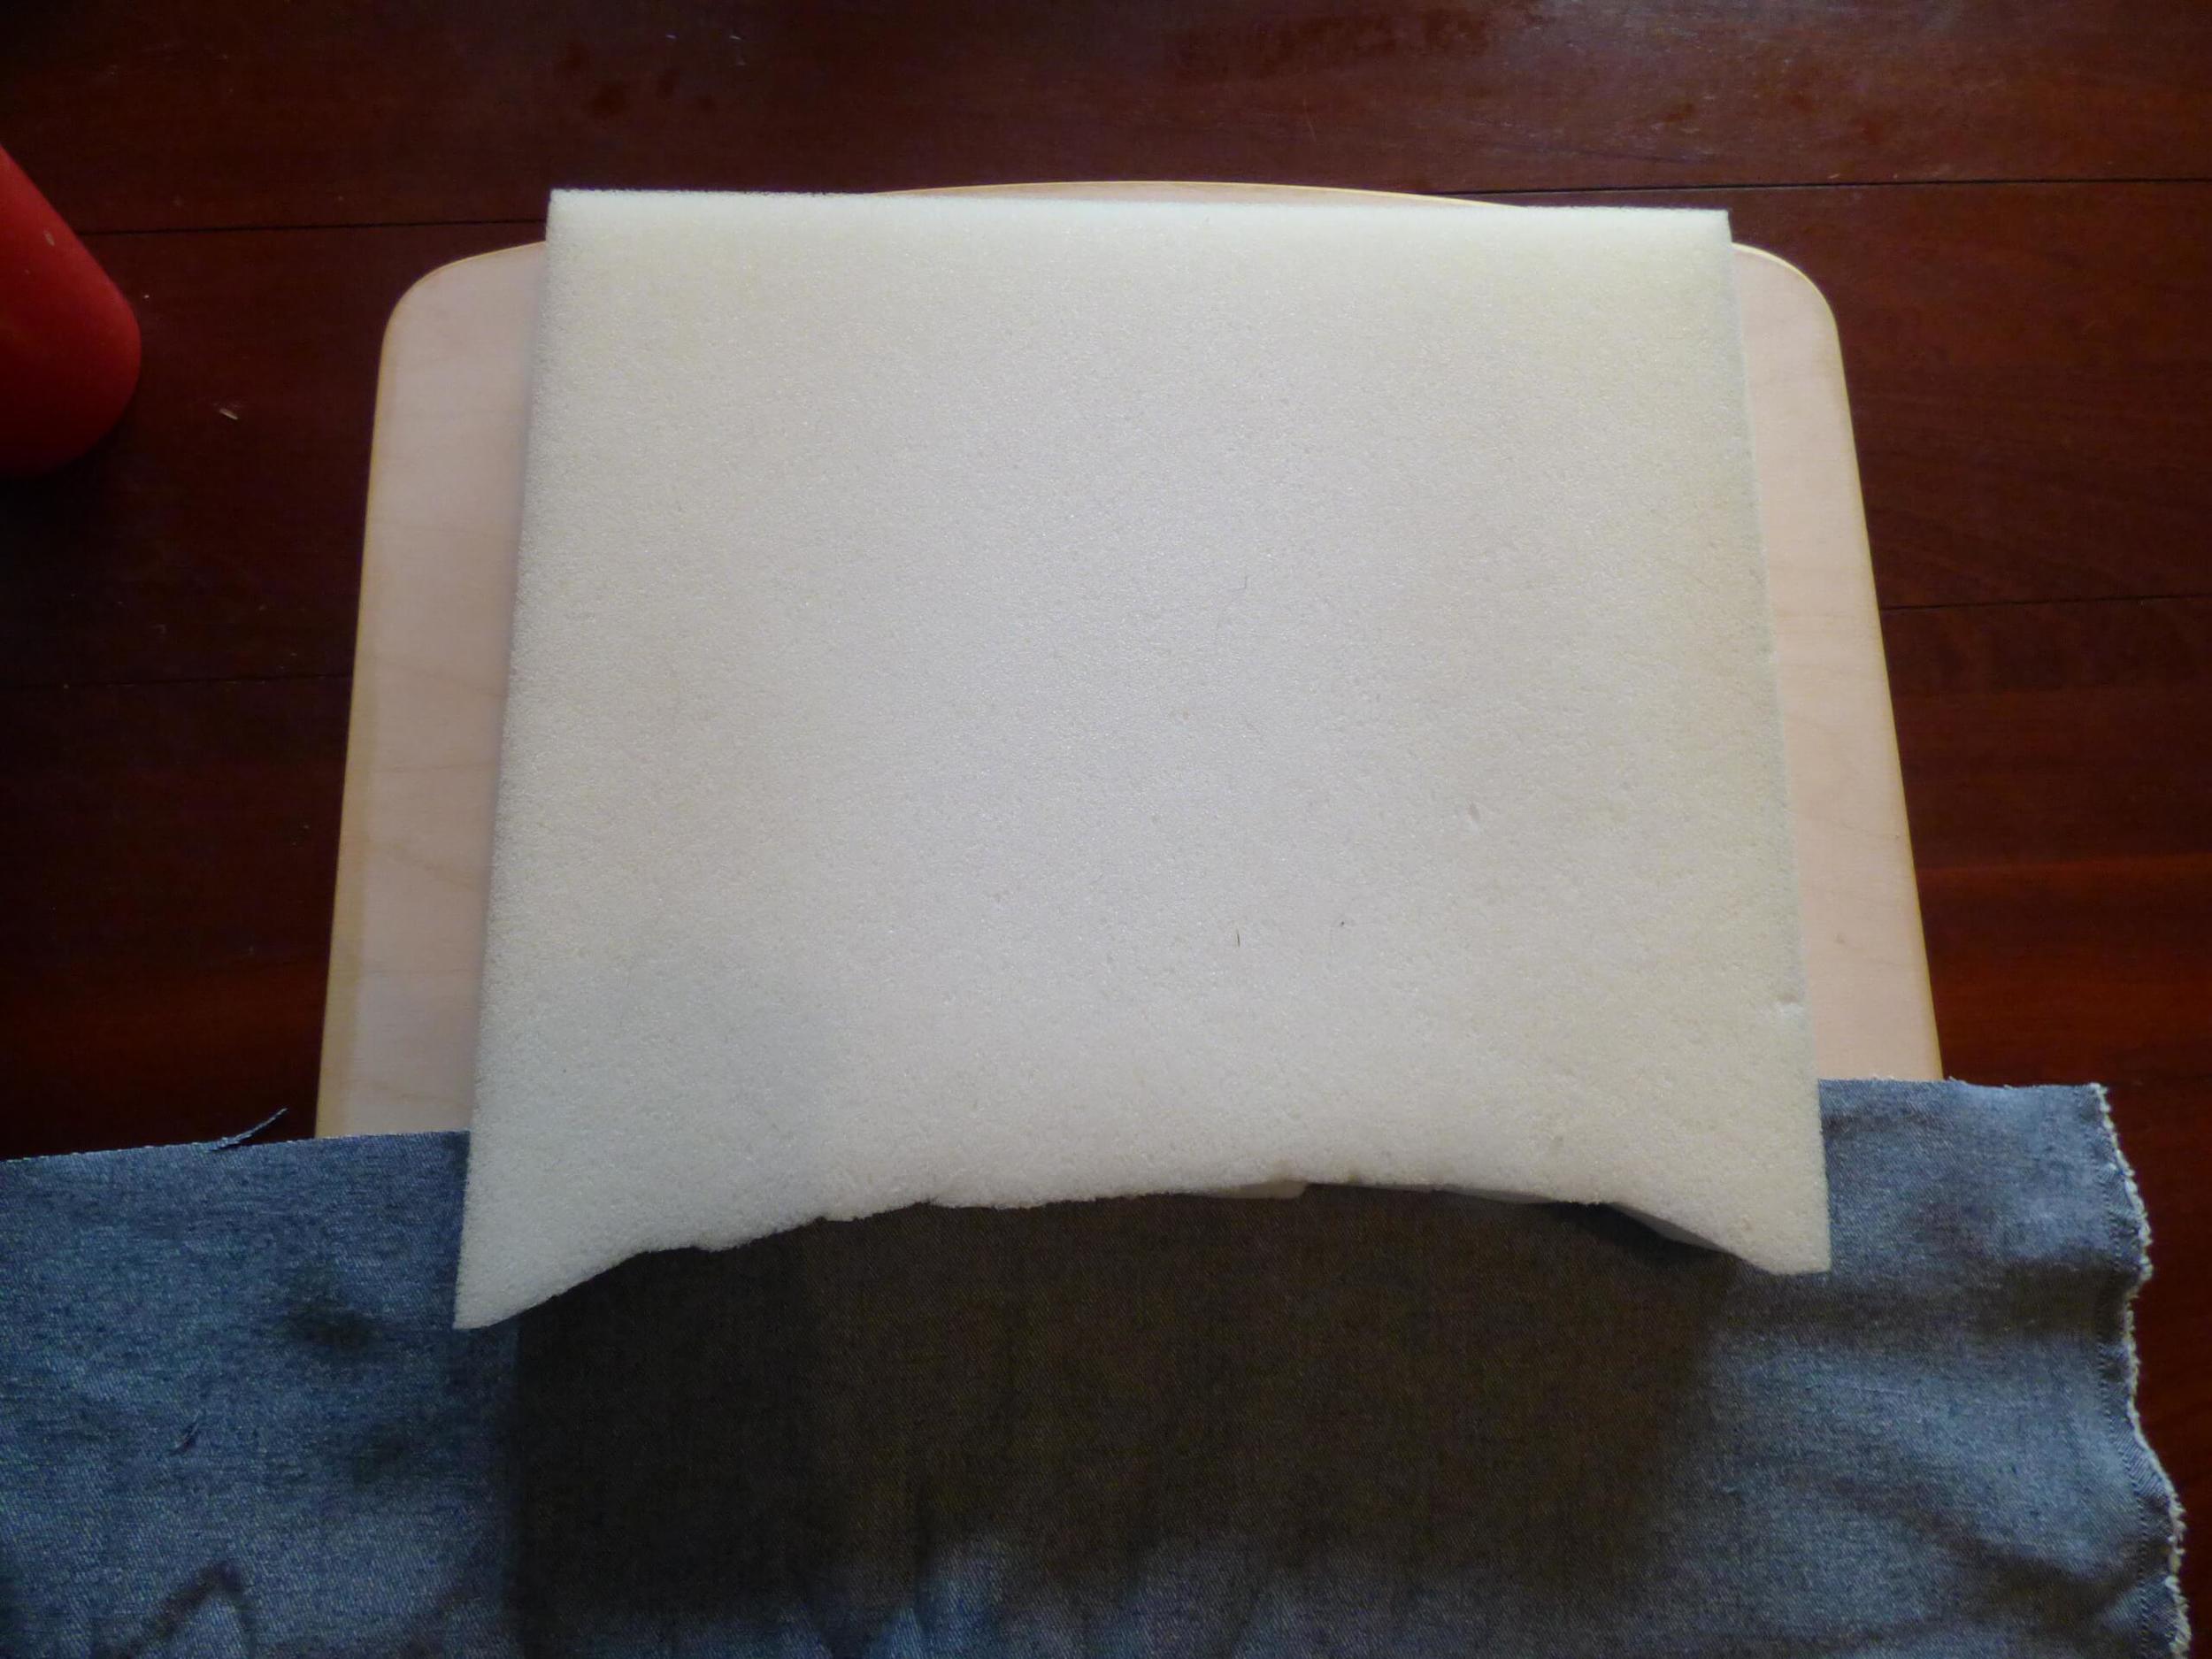
Step 4—-While waiting I cut my fabric approximately the same shape as the foam with plenty of extra on each side. I used denim because I had it but any fabric would work for this project. Use what you have or your can purchase something cute to match your decor!
Step 5—-The glue wasn’t completely dry so I tucked the fabric between the wood desk and foam on one side. The fabric stuck to the wood and the foam.
Step 6--Then I wrapped the fabric over the foam and tucked it under on the other side.

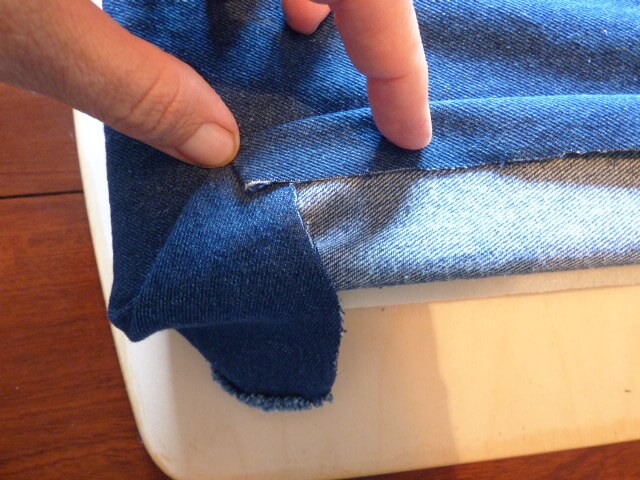
Step 7--At this point, two sides of the fabric are glued down. On the remaining two sides, I folded the ends up as if I was wrapping a present. See the picture below. This will keep all raw edges from showing after you staple them down in the next step.
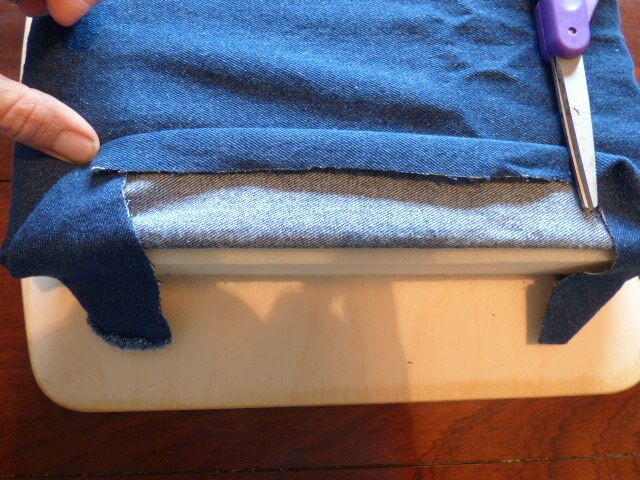
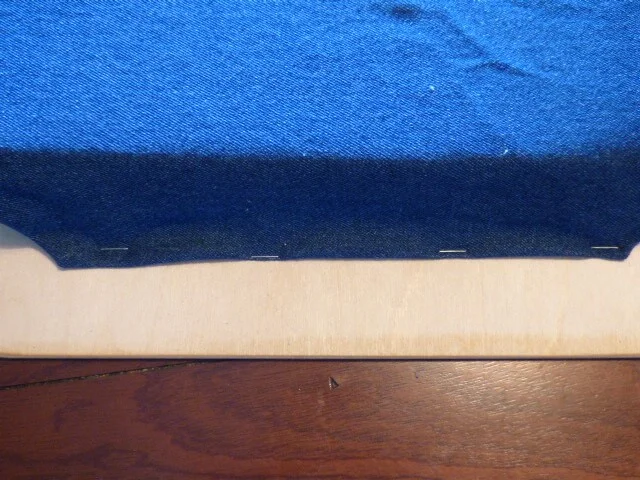
Step 8--Then I put the folded long edge on the wooden desk and stapled the fabric to it using a regular stapler. A couple of the staples didn't go in straight and I had to redo them. None of the staples went through to the other side.
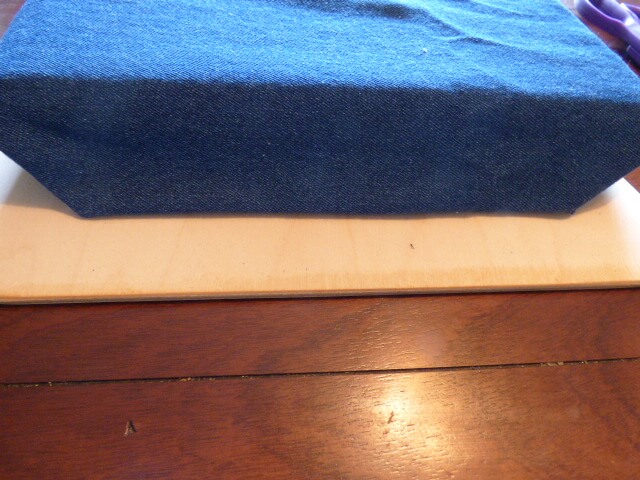
Step 9--Repeat step 8 on the other side. At this point, I let the glue dry overnight. The next morning it was ready to go. The fabric was secure and the foam didn't slip around!
This is perfect for my laptop & it keeps my legs MUCH cooler.
Did you enjoy this tutorial?
Don't miss more like it plus recipes & more right in your inbox!
More DIY posts!!! Check them out!